
https://photos.app.goo.gl/j3yWLJRUmtGXQQ6P6
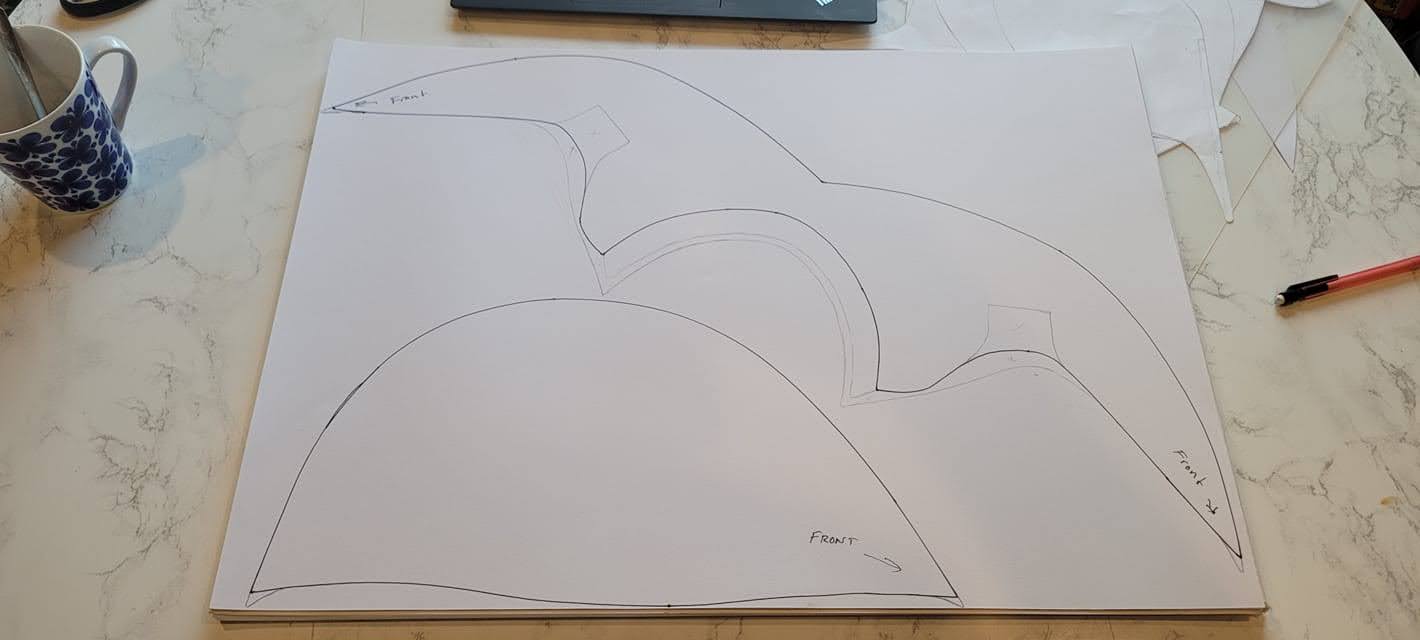
Next is to make the upper ring circular and flat so that I can make a locking armet for it one day if I feel like it. After fine tuning I will pattern and shape the rest of the lames.


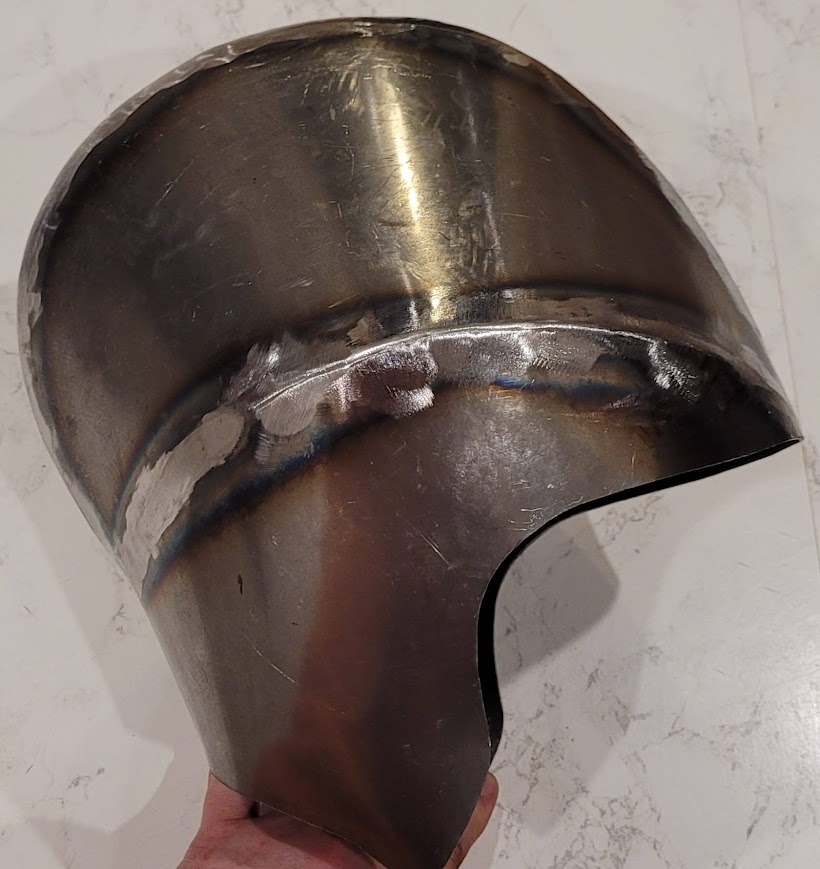
Yes. The back main plate will be shaped to accommodate the trapezius, and the neck needs to make a smooth transition into it. OK... it doesn't "need" to, but it will look a lot nicer and more like the real ones if it does.Kristoffer wrote: But perhaps I should "square" it up more in the back?
I like to start "building" that crest early, and then sharpen it up once the neck is integrated with the main plates.Kristoffer wrote: I was thinking the front will become pointy when I lay in the crease in the center?

Thank you for lending us your eyes Mac!Mac wrote:I know you are not going to want to hear this; but better now than later.
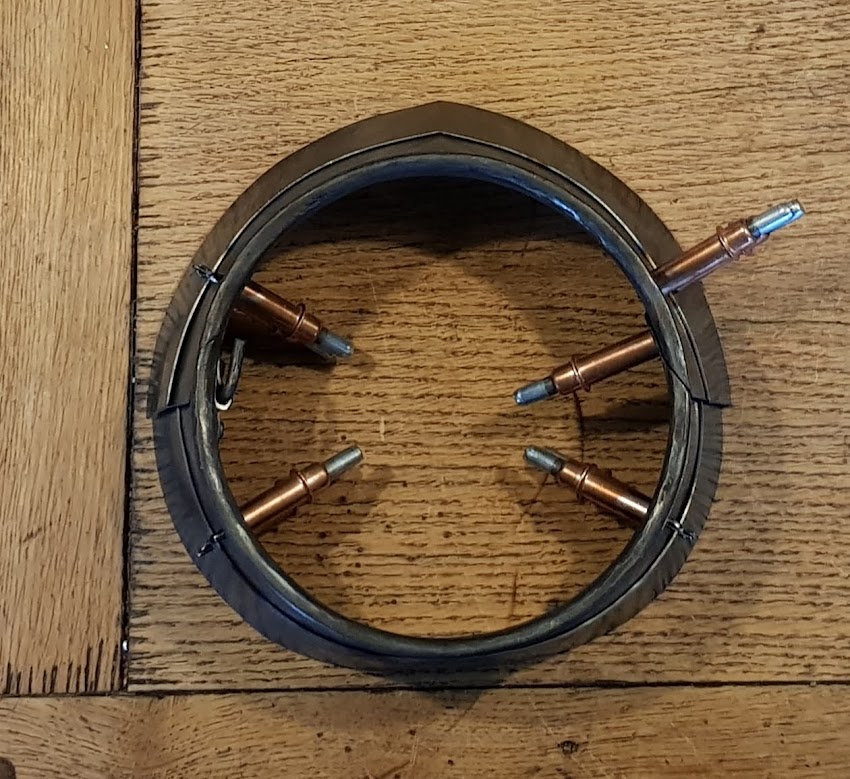
As you add rings to the neck, you should be altering the shape from a circle to a sort of bean shape to make the transition to the main plates.
<SNIP>
I should have mentioned this earlier... sorry
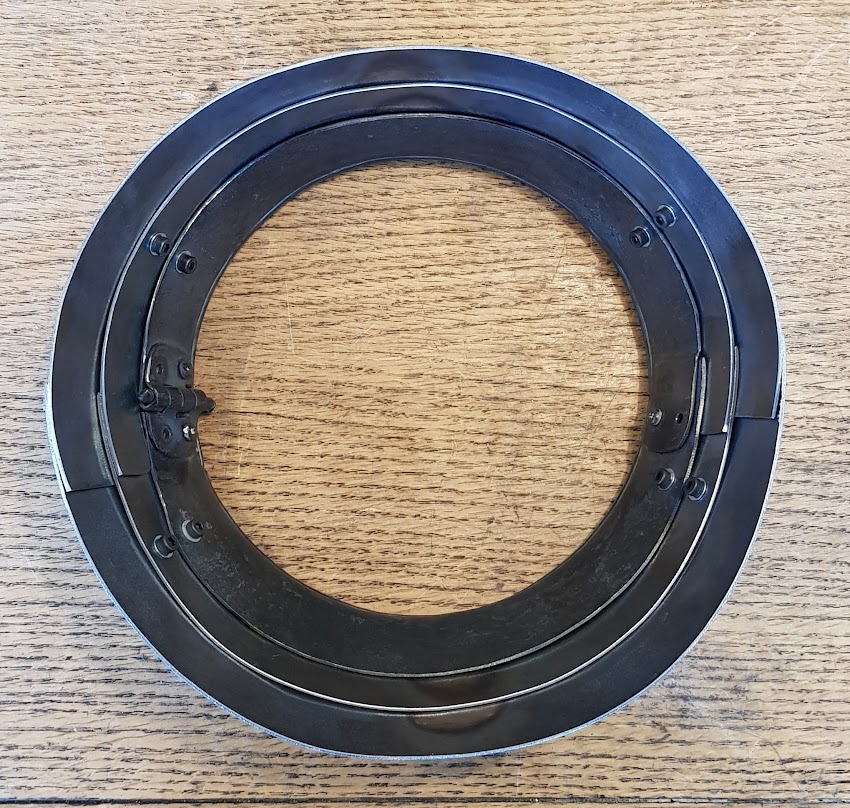
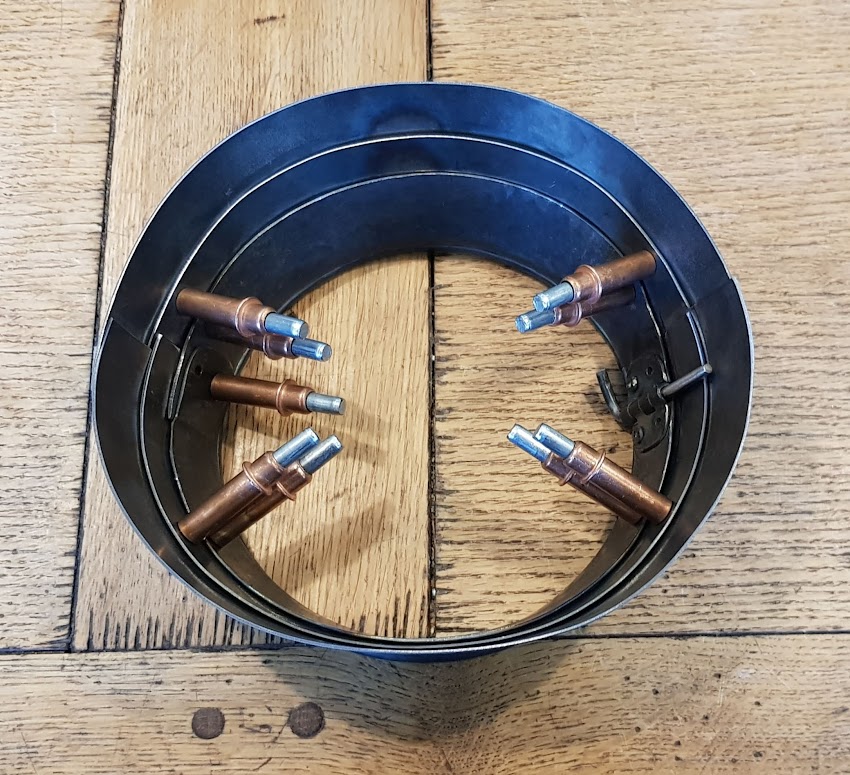
Thanks Wade - this is an excellent photo. Whileh I don't think that it shows what Mac wants it to show, it gives me a much better perspective on the assembly.wcallen wrote: A pretty clean photo from the top. I tried to be as far away as I could and to get as straight as I could. It looks pretty round, but I think that isn't quite right:
http://www.allenantiques.com/images/A-201-topish.jpg


I saw something, somewhere, at some point (yeah, really helpful, I know...) where someone applied latex, then plaster and other stuff over a balloon to get some cheap volume for building up a head. If memory serves, it was someone involved with creating movie props or similar. Perhaps Chris Gilman would have some ideas about this?
Starting with a balloon would work OK, but it doesn't allow for the use of a buck to establish the profile etc.RWWT wrote: ↑Wed Dec 13, 2023 6:54 pmI saw something, somewhere, at some point (yeah, really helpful, I know...) where someone applied latex, then plaster and other stuff over a balloon to get some cheap volume for building up a head. If memory serves, it was someone involved with creating movie props or similar. Perhaps Chris Gilman would have some ideas about this?


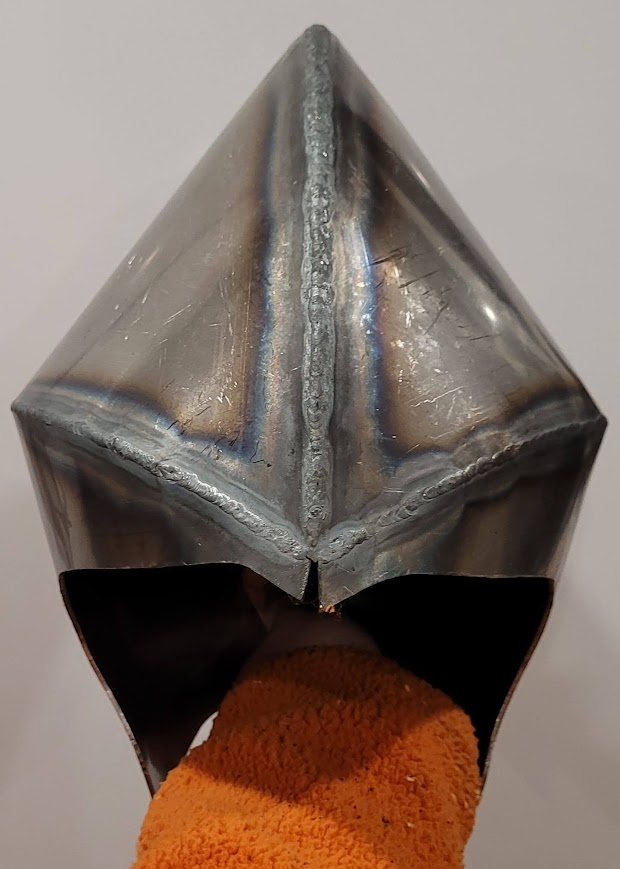


Everything was done with a TIG. Ideally one use a short back cap and a transparent gas cup and a swivel head. Unfortunately, we did not have any of those things but managed to do it anyway. I will buy a proper TIG with all those things for my new shop later.
This is more or less what I do in my own shop if I will tig weld anything.
