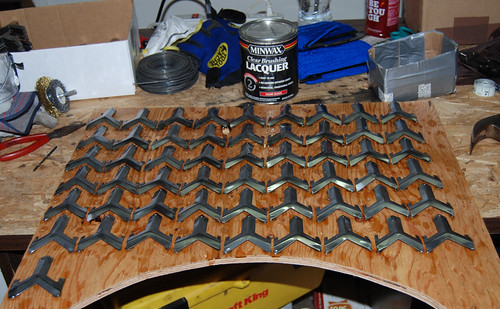
I had 300 scales laser cut about 5 years ago. They have sat, some shaped and largely collecting dust and a little rust. They were from 18g mild steel.
Since my lacquered paper armour has now died, it's time for new armour. So here is my progress thread on my project of Shan-Wen-Jia.
To start - the scales.

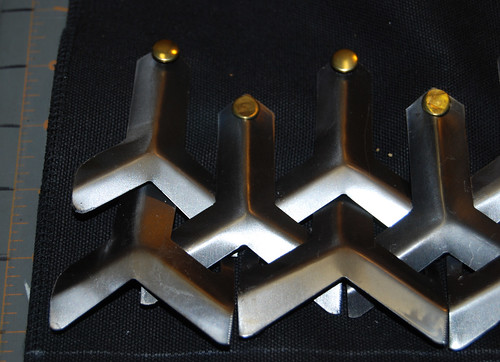
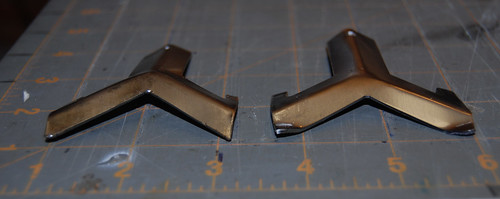
They were laser cut at a local metal fab shop. Initially I shaped the scales with a chisel and a groove cut into a wood block. I have since moved on to a press with much better results.
The press:
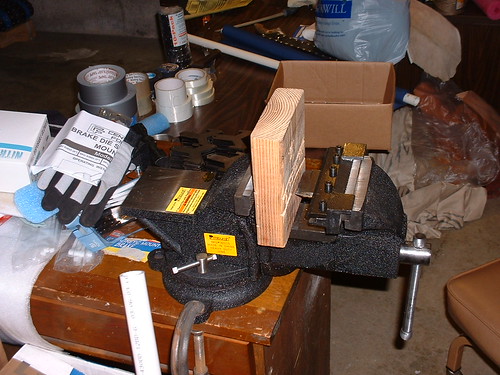
It's a bending brake that mounts to a bench vise. I used the wood block instead of the negative form that came with it, as it worked much better for shaping.
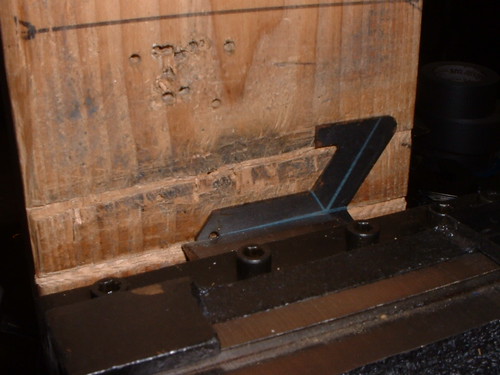
Once I got the process down, I was able to get a lot of scales shaped in a fairly short time.
Suffice it to say that after 4 years of going from basements to garages in assorted moves, they managed to collect some rust along with all that dust.

To fix that, I mounted a wire wheel to my bench grinder and whisked away all that rust. To keep the rust from returning, I dipped the scales into some clear, glossy lacquer.
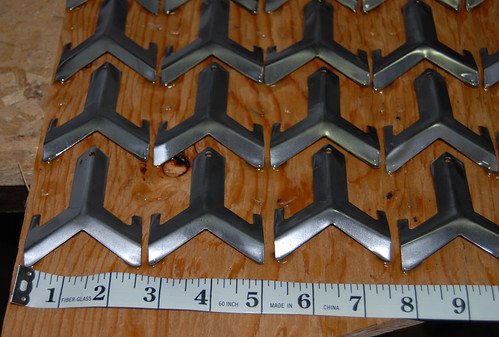
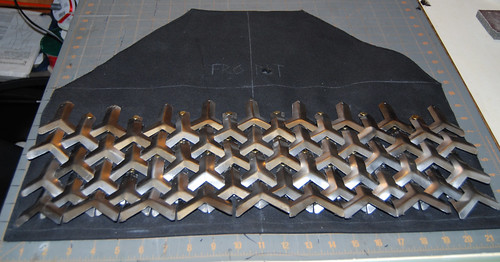
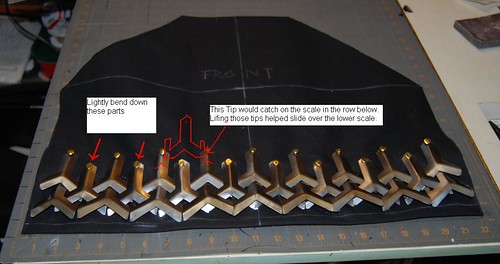
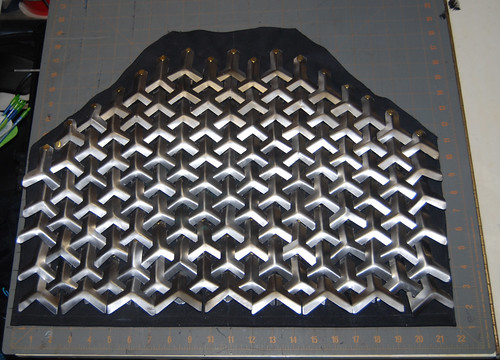
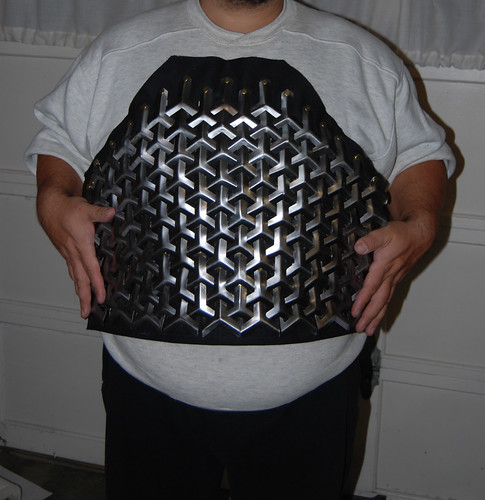
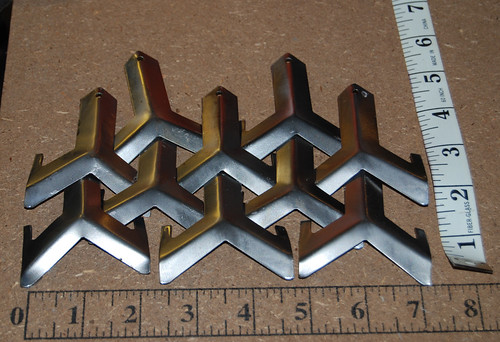
After one batch dried, I decided to fit them together and see how they lined up:
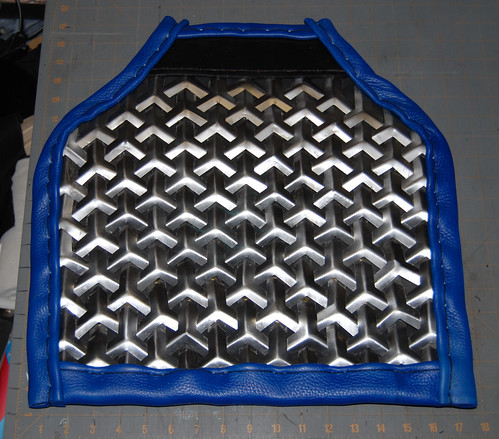
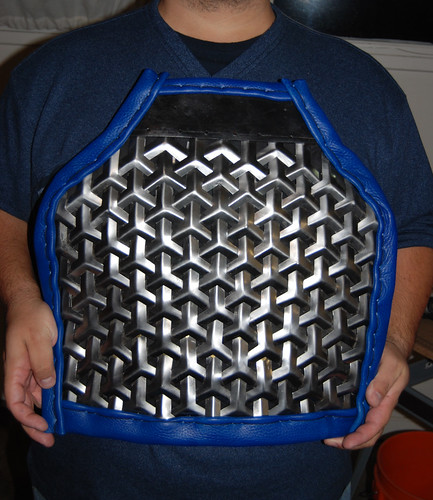
I have about another 100 or so to wire-wheel and lacquer dip, then it's time to assemble. I have some black duck-cloth canvas I plan to mount them to. For my girth, I am estimating 100 each for front and back torso. For ribs, it likely will be mild steel on leather. I may have enough left to attempt shoulder guards.
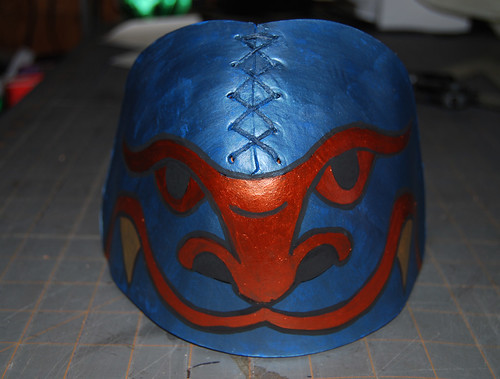
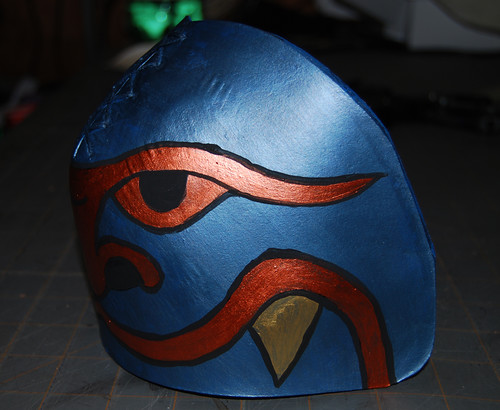
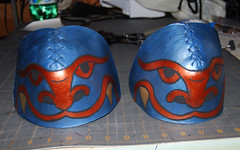
The real trick is figuring out how to make the shoulder lion-head/demons. That part of the project will be most interesting.
You can check out all my pics on my flickr account