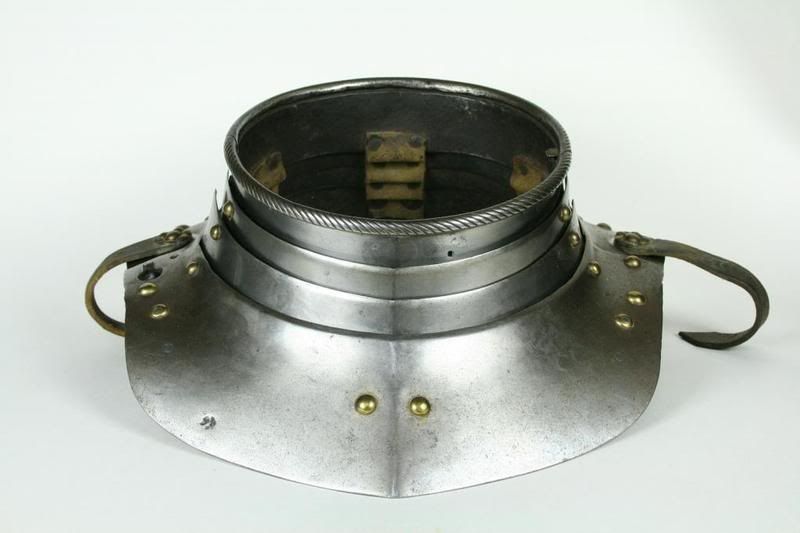
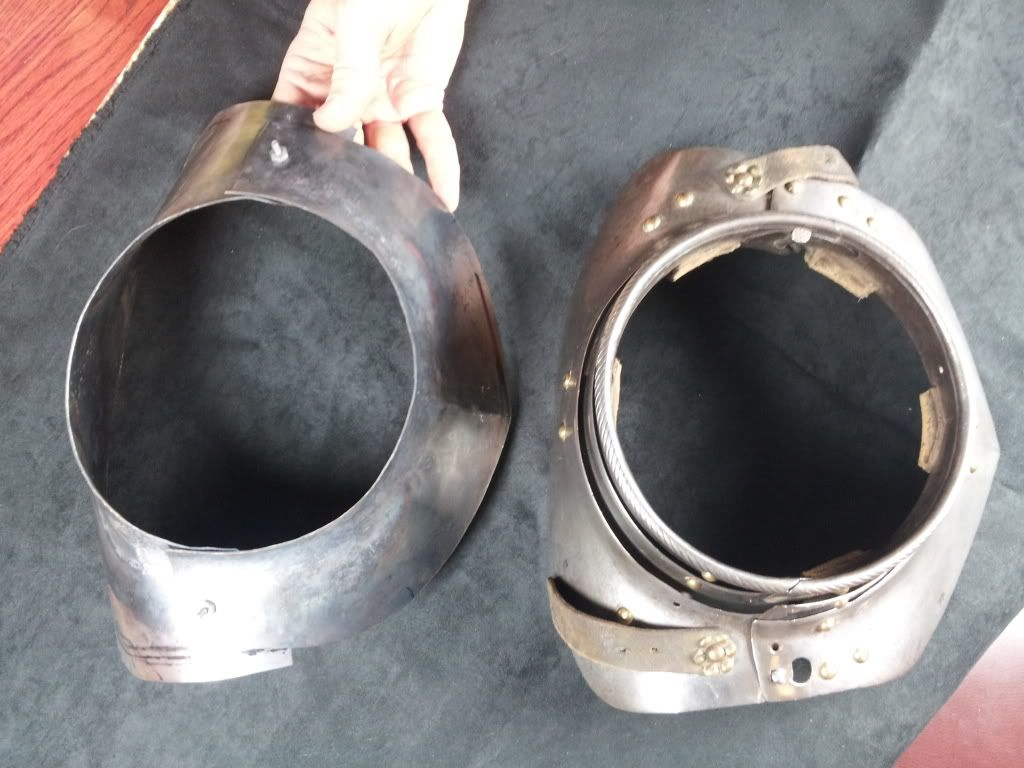
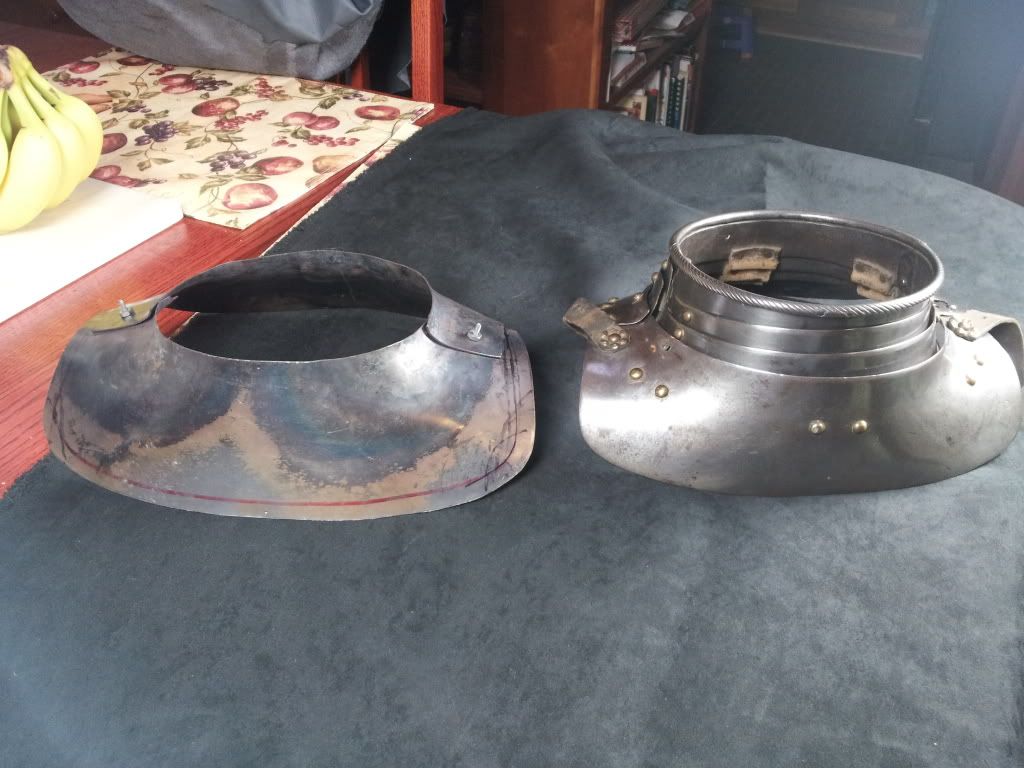
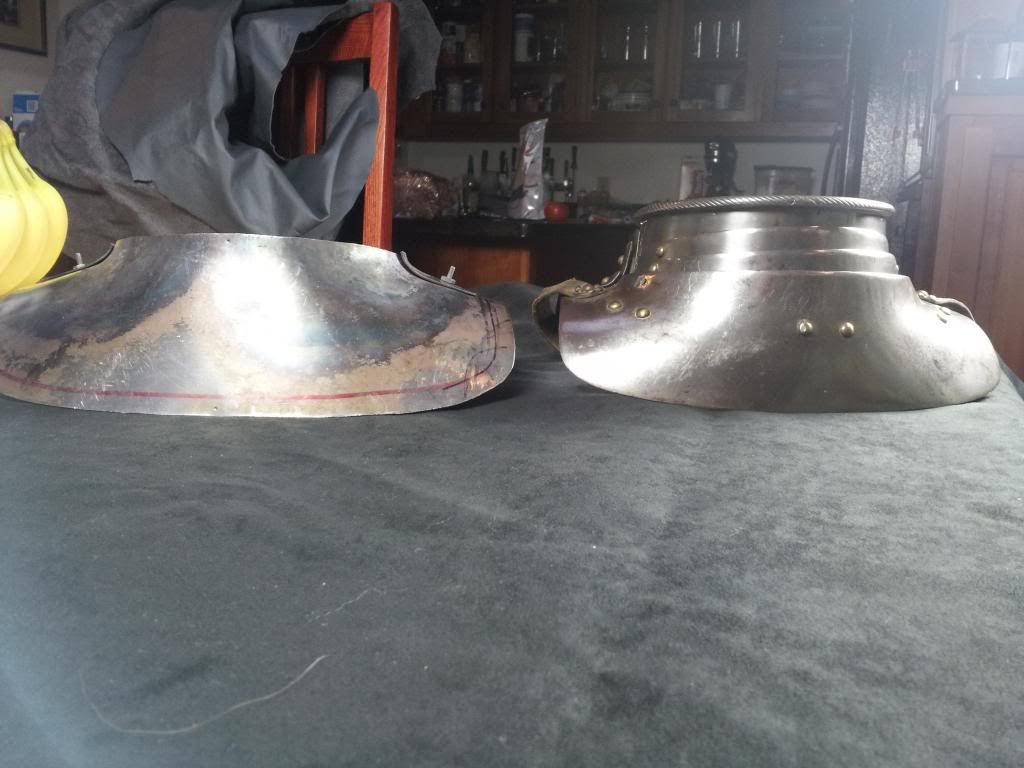
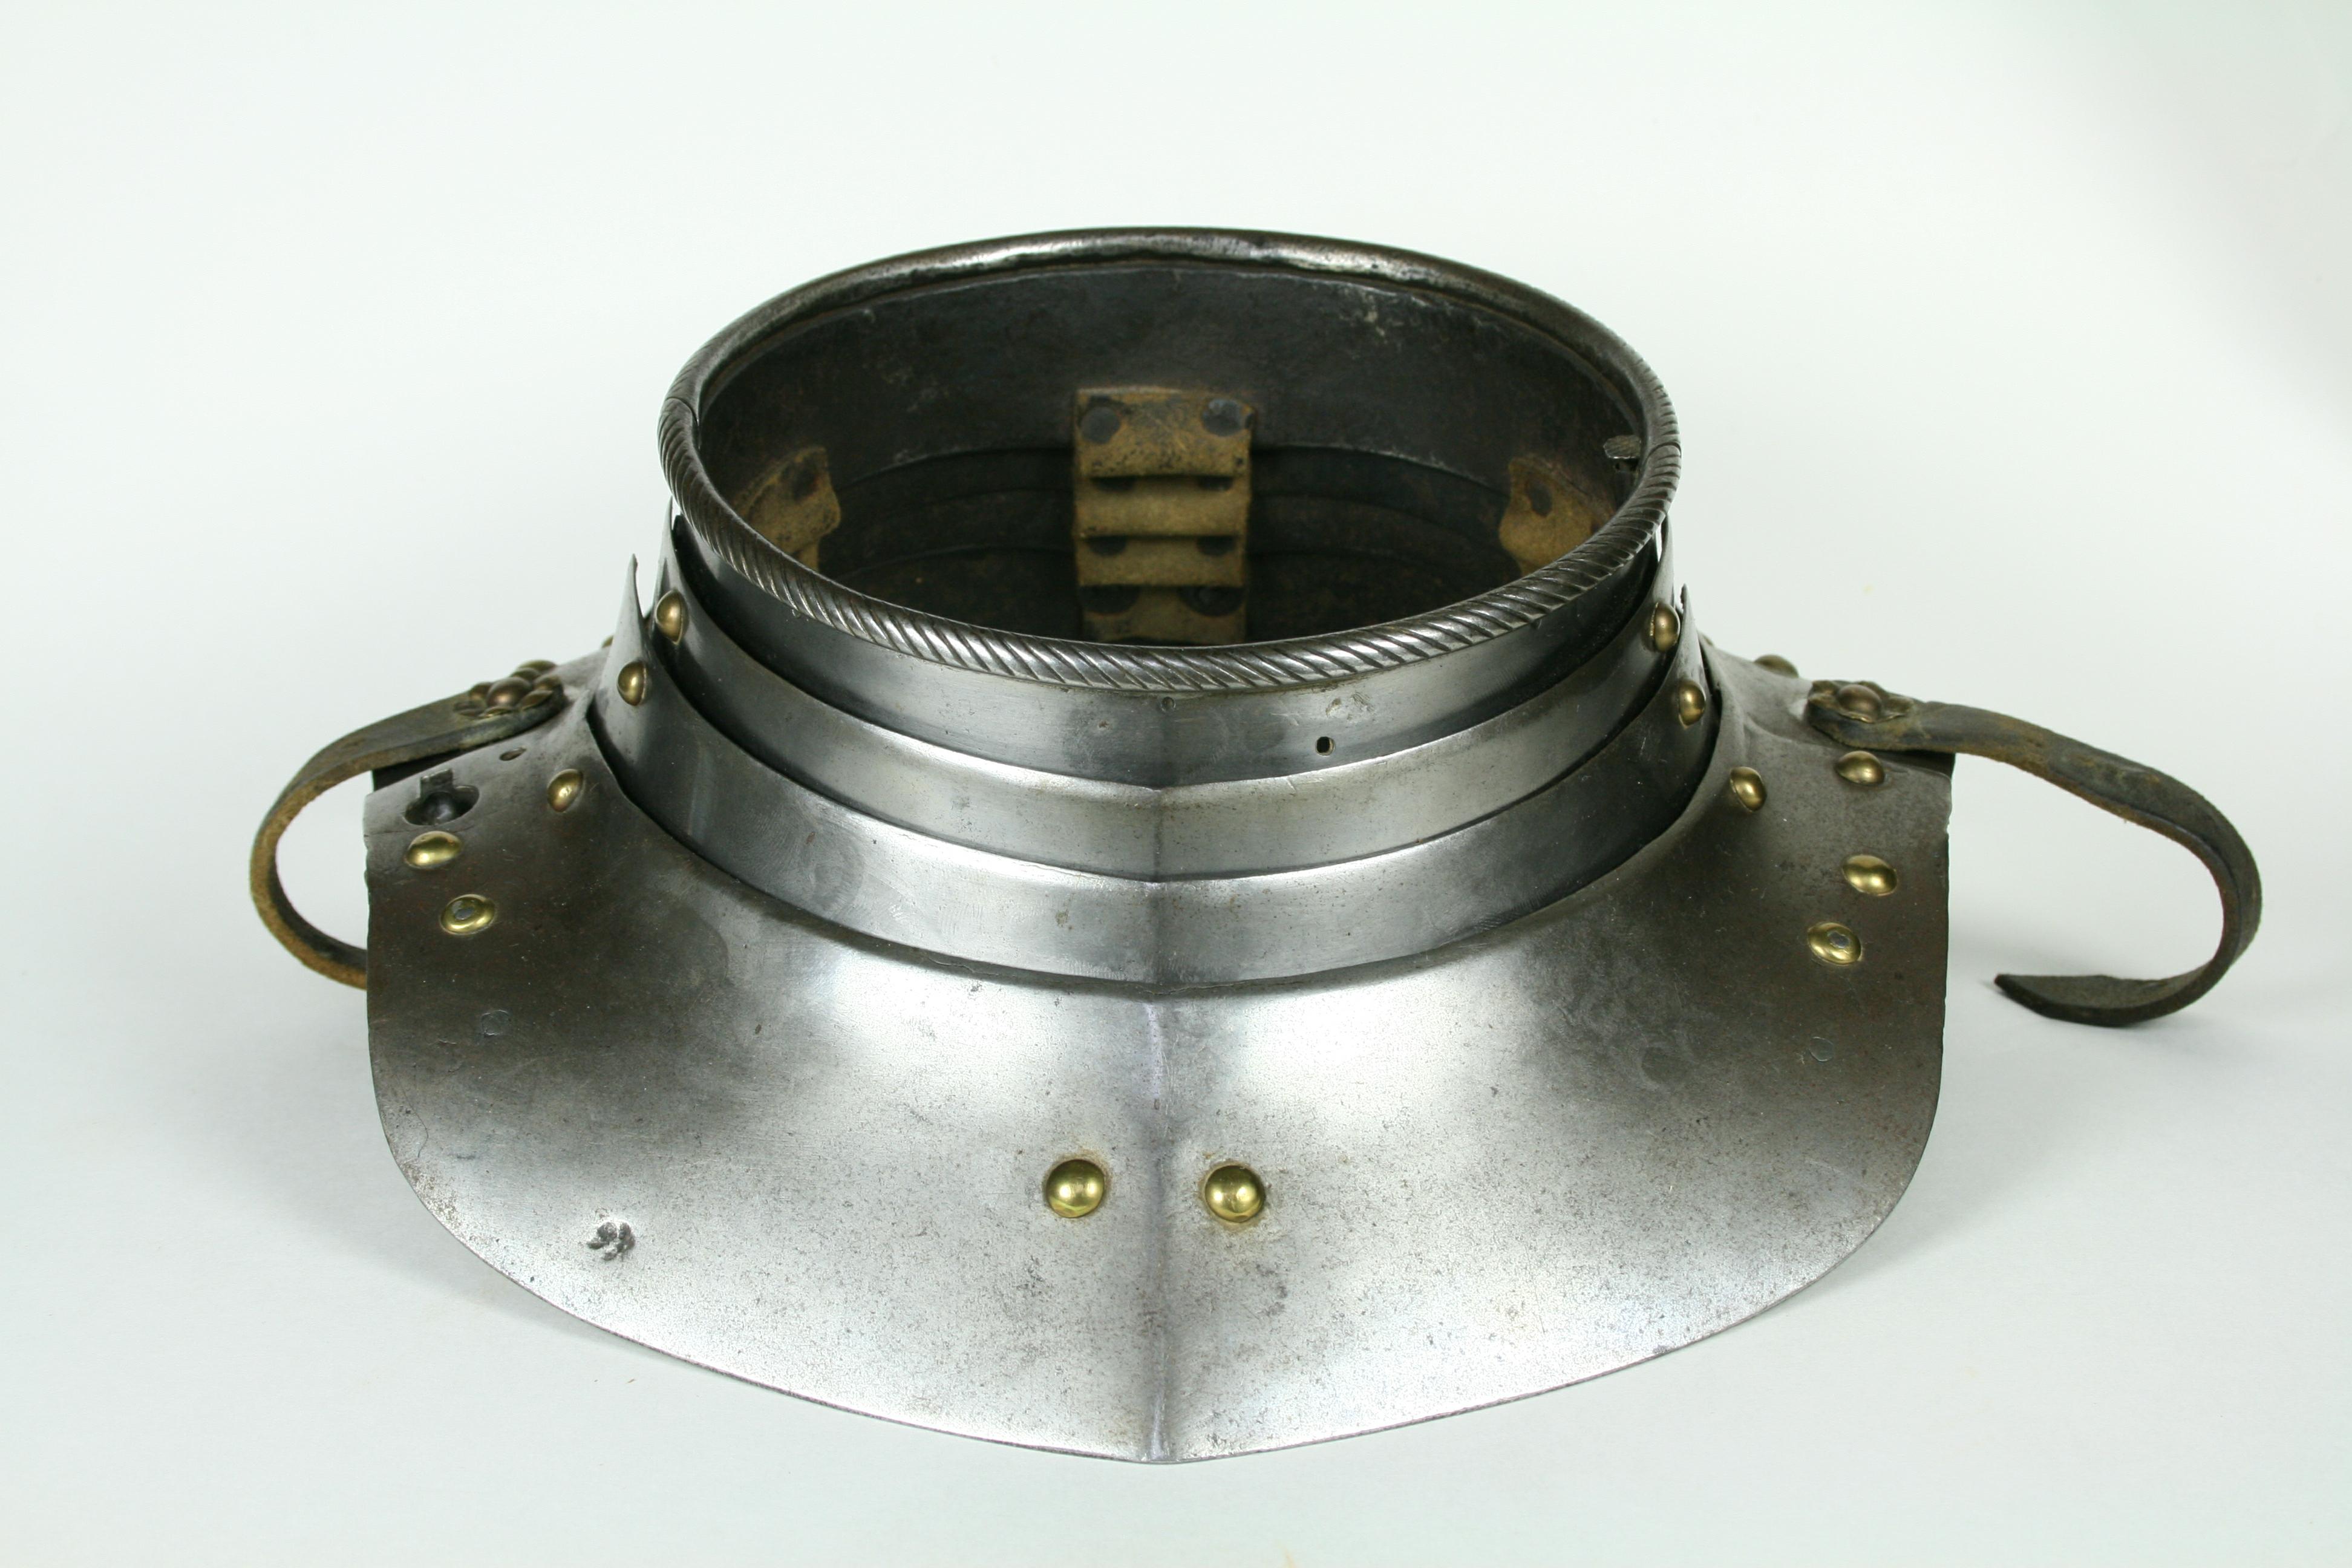
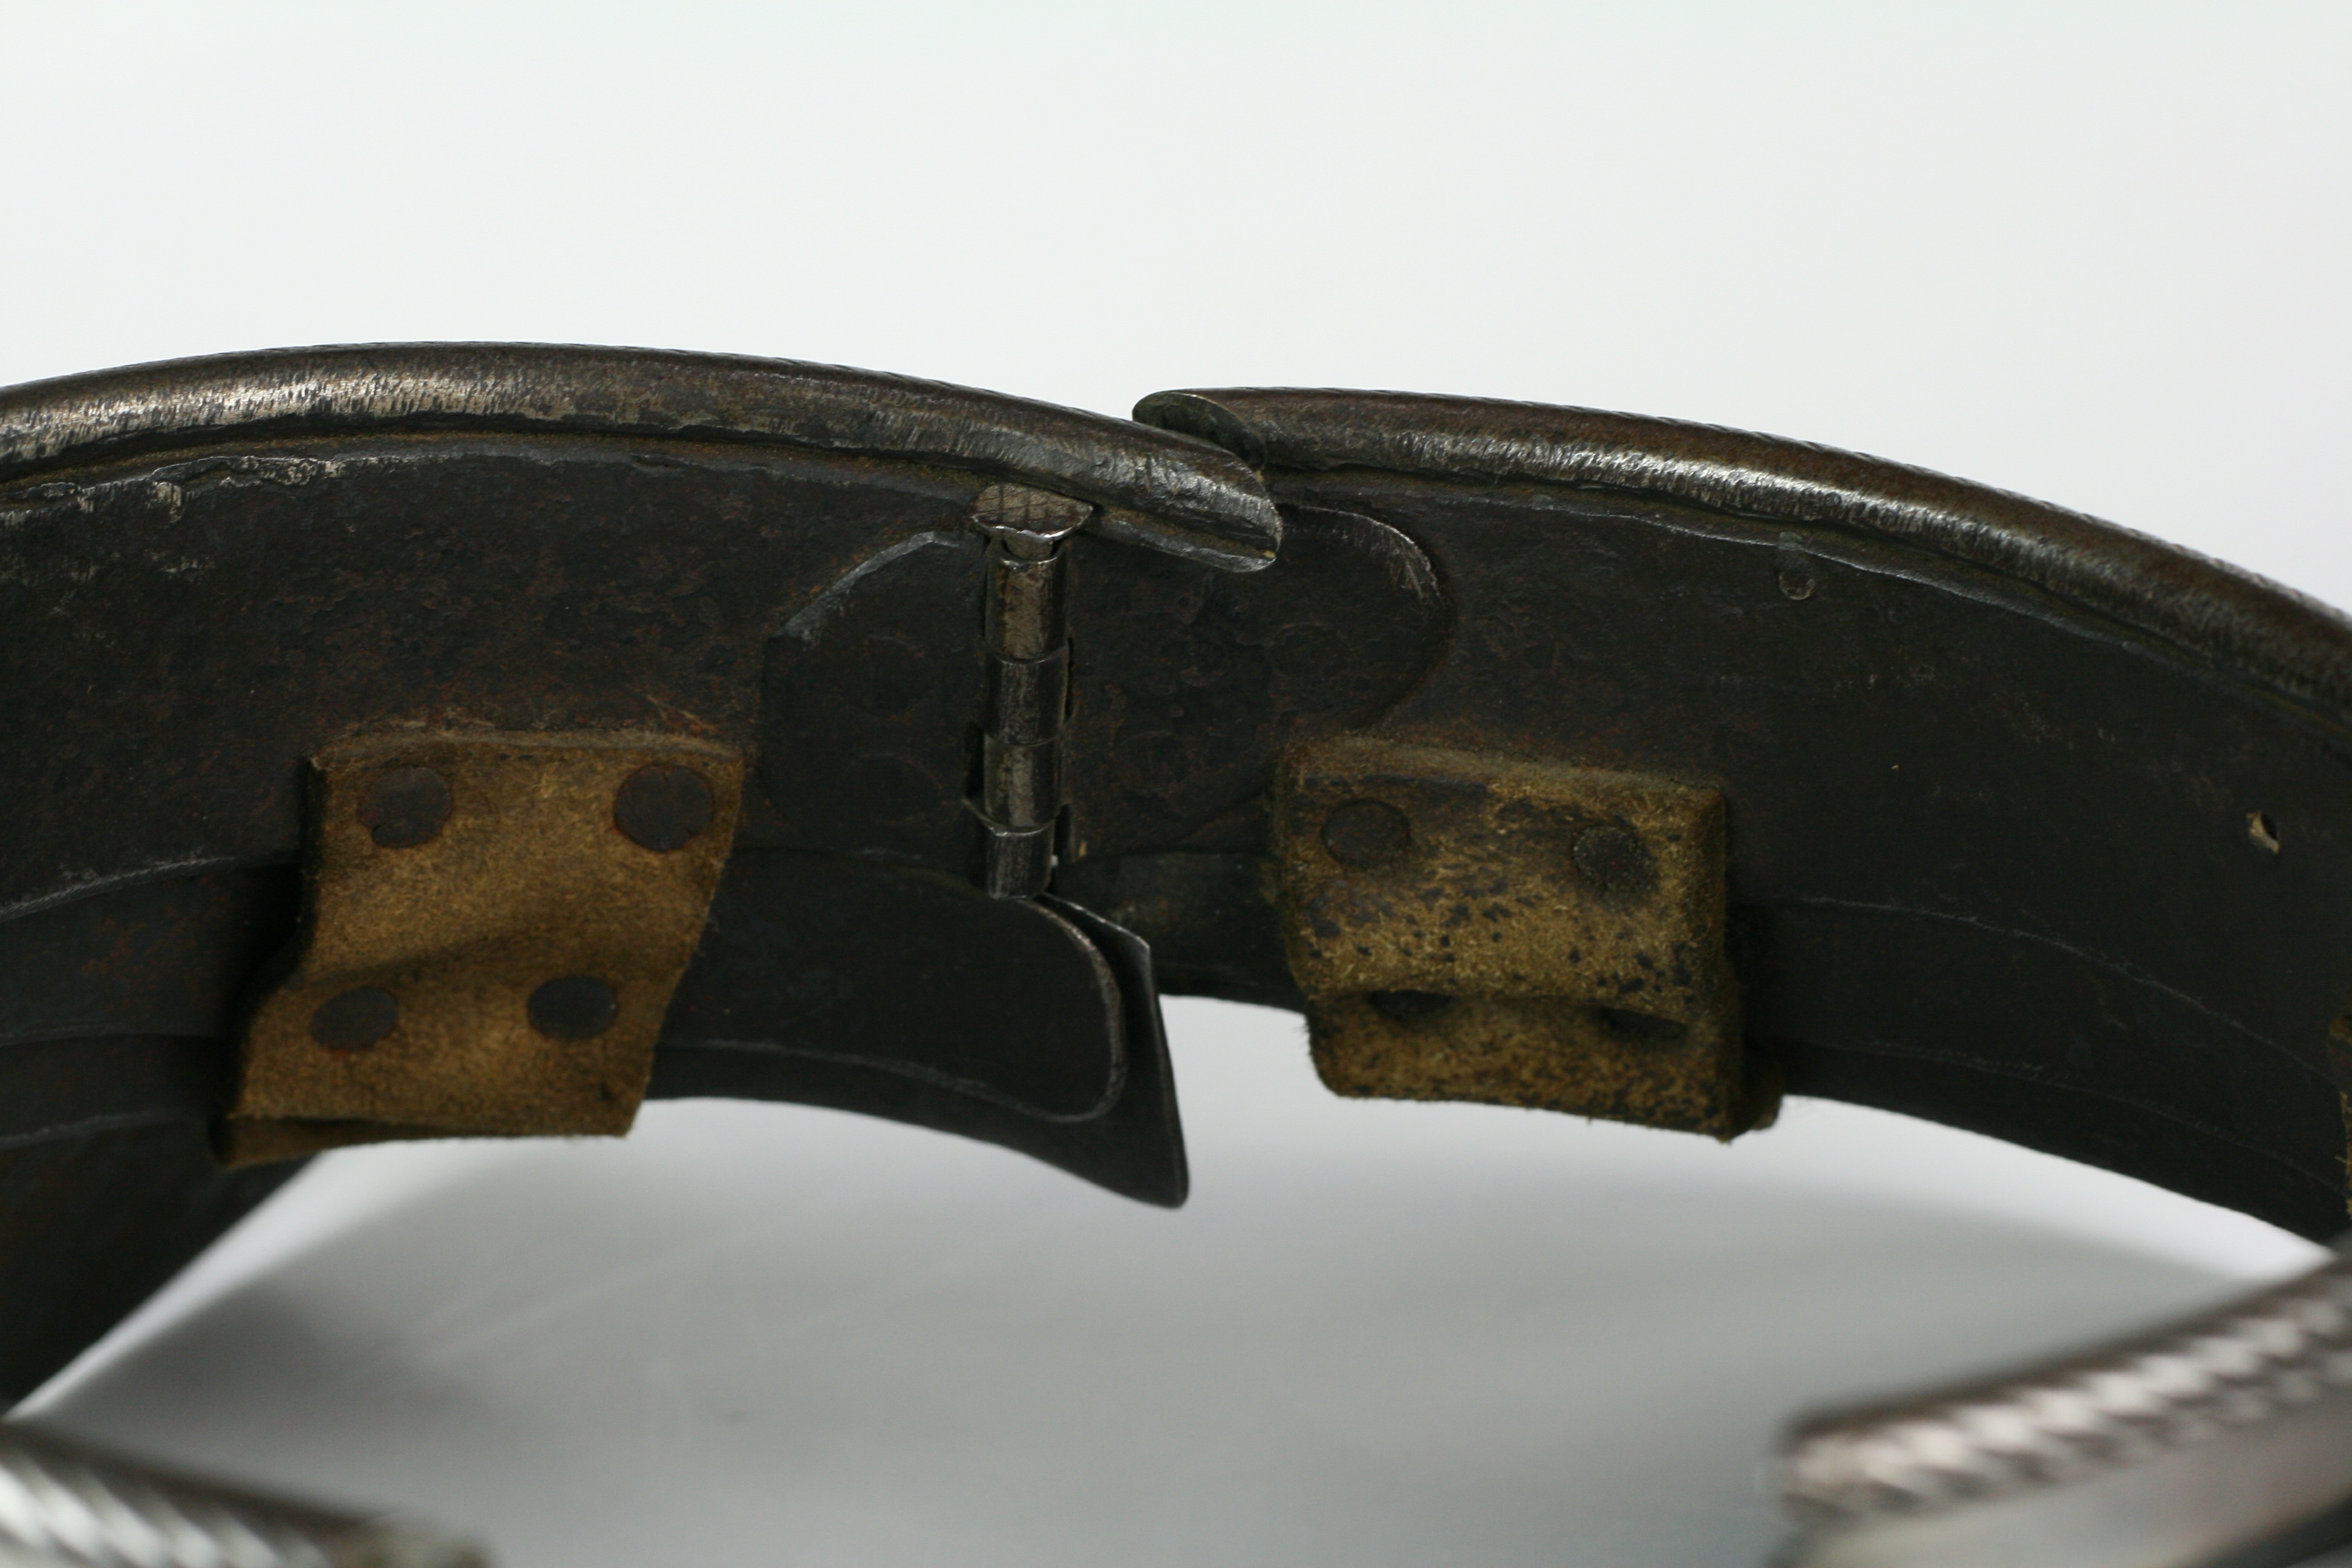
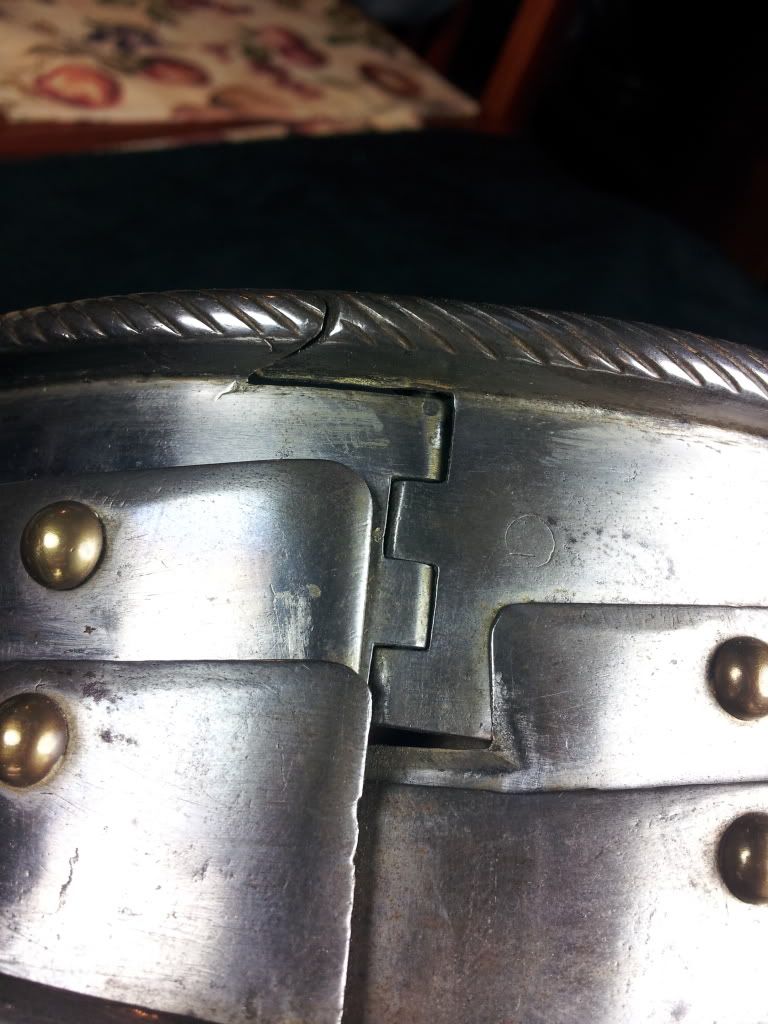
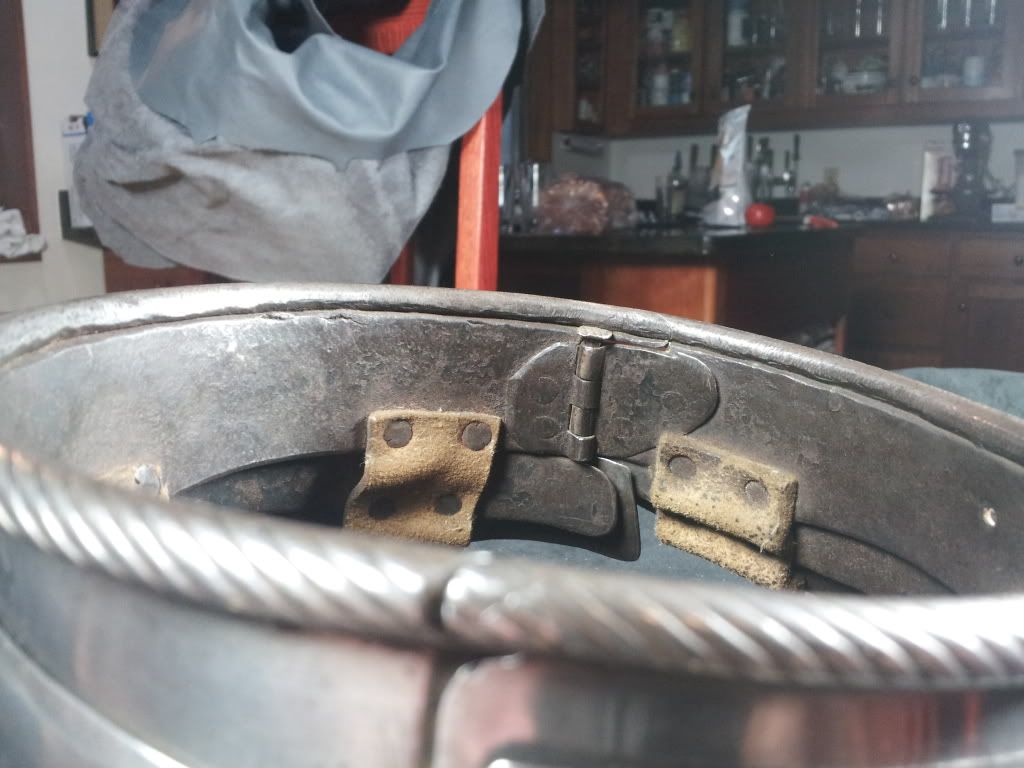
http://www.allenantiques.com/A-201.html He was kind enough to let me handle it (with gloves!) and take patterns off of it. This is the first time I have based a piece on a specific original and I am trying my best to be as faithful to the original as I can. The only substantive change is that it will be completely out of 18 ga 1050 rather than the originals 16 ga front parts. I already regret this but I am not going back now!
Wade has been very helpful in sharing his ideas, techniques and even material with me. What I am doing would be a much more lumpy misshapen mess without his guidance. He has been very tolerant of my billions of questions.
I started work on this some time ago but took some time to process the photos. I'm linking them so you can actually see details like hammer marks and such. I'm sure to have forgotten something. Hopefully Wade and others will chime in and help the discussion.
Here goes!
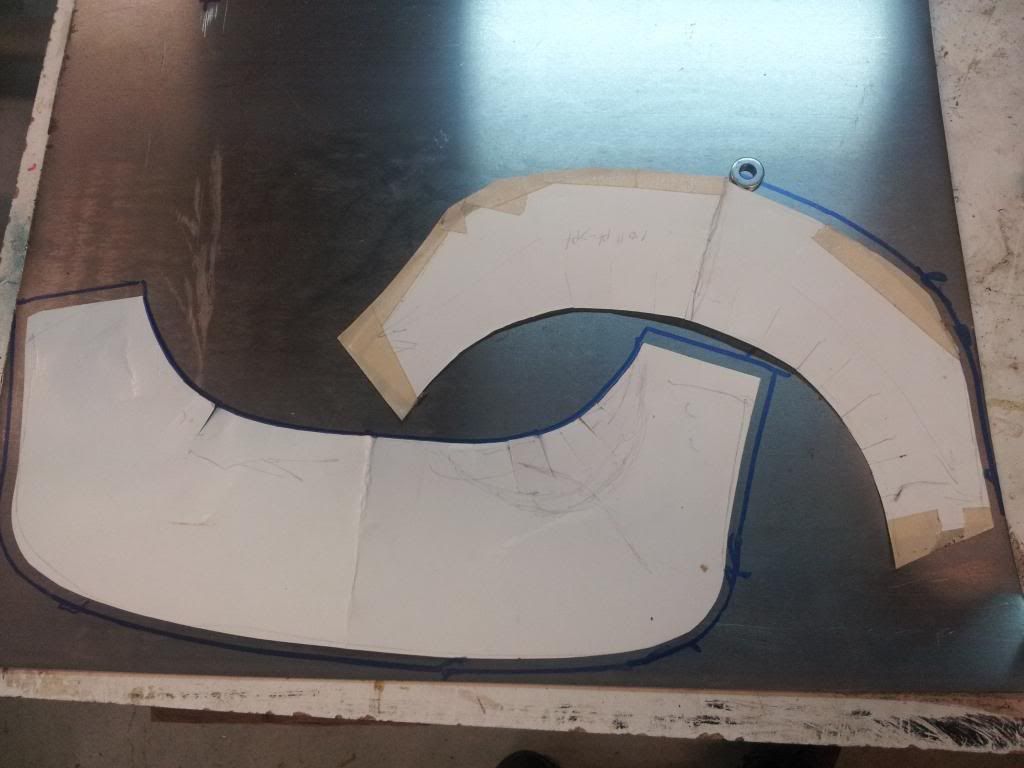
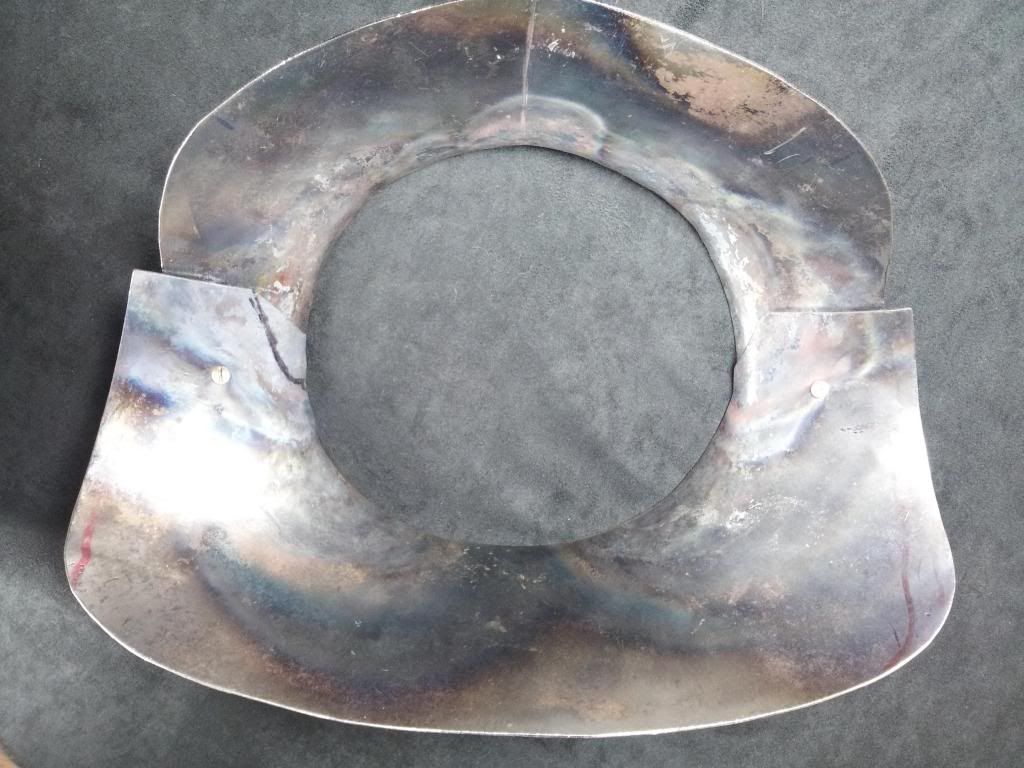
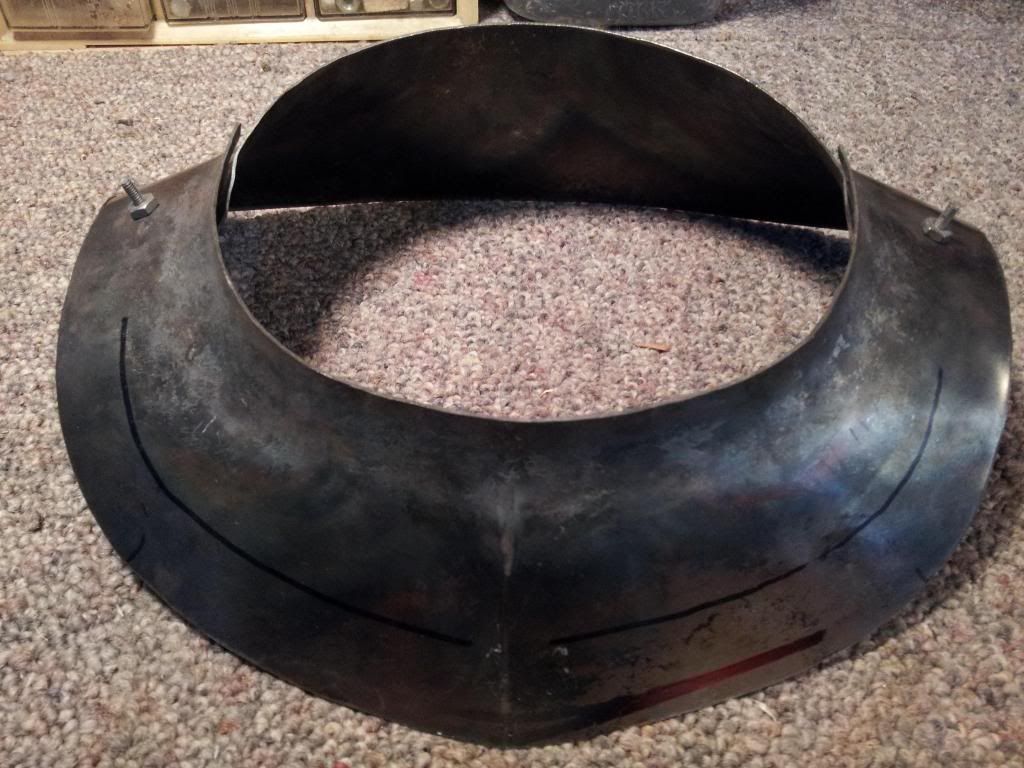
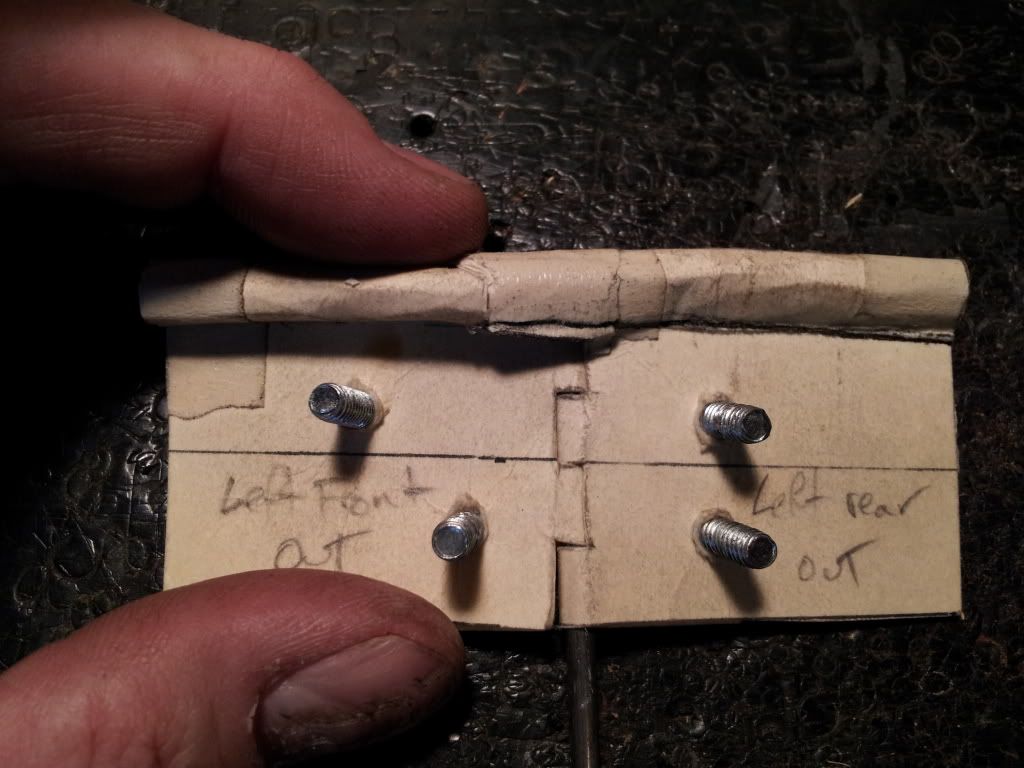
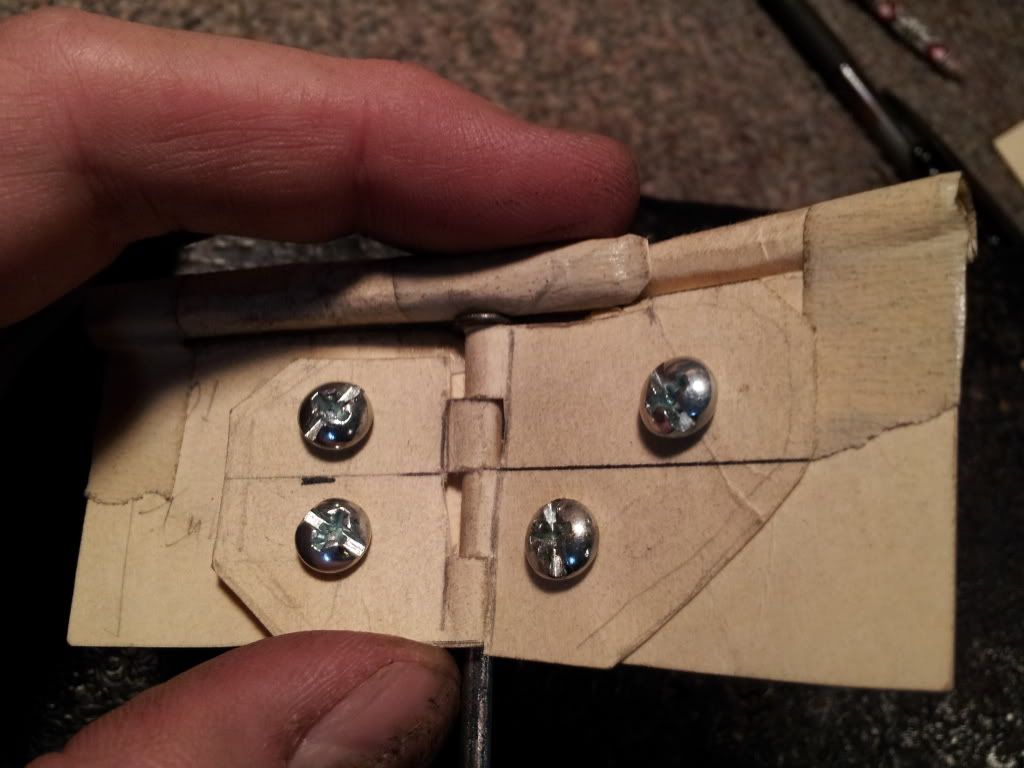
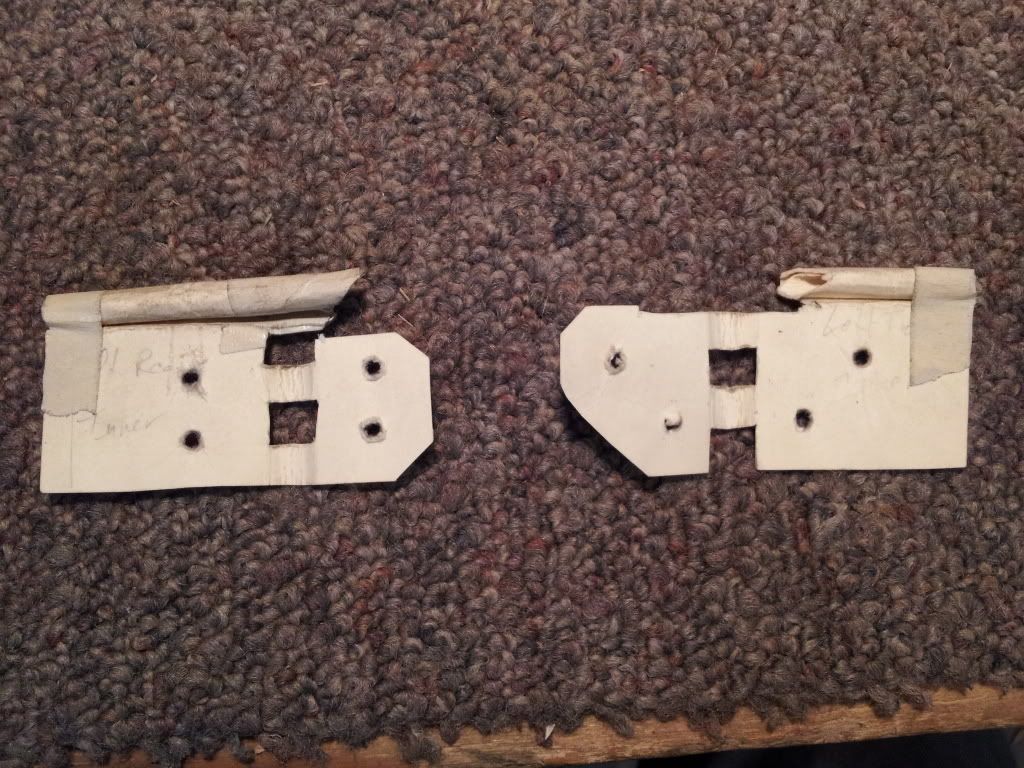
Pulled the pattern off of the collar. I used a washer as a sharpie guide to add about 1/4" to the outside edges and the overlap. I am of the school of "trim to fit". That way any distortion or overrun can be trimmed off. Since this is 1050 I do not want to add metal by welding onto the workpiece as I have done on mild work in the past. It's cheating anyway...
http://i128.photobucket.com/albums/p181 ... 210704.jpg
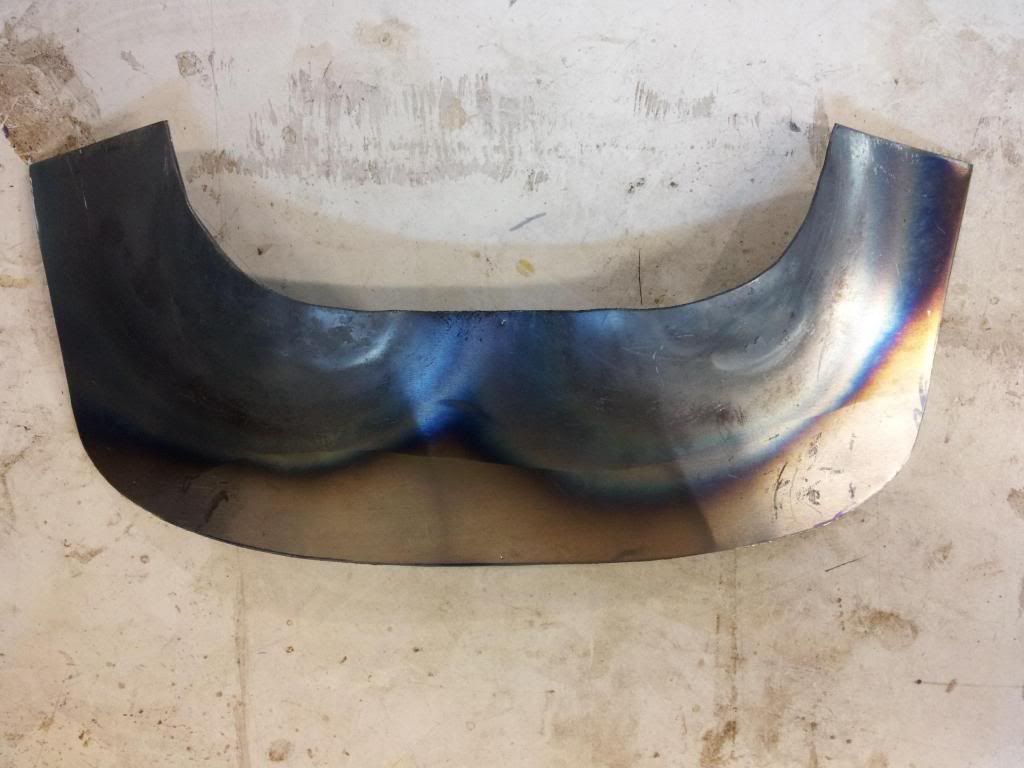
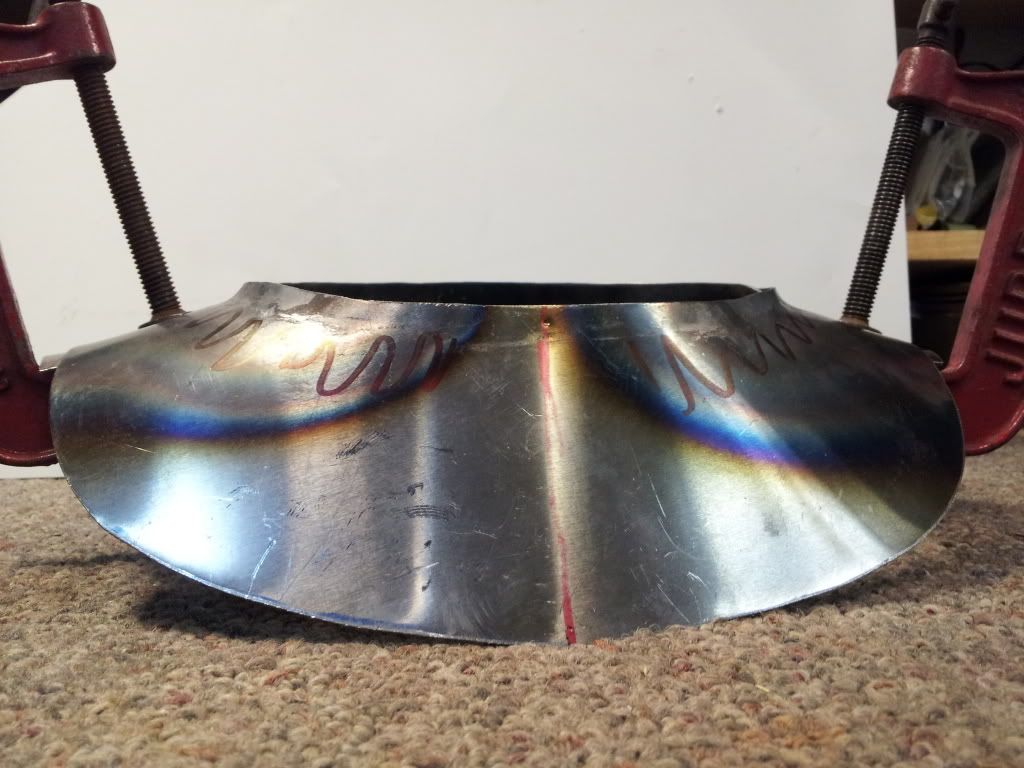
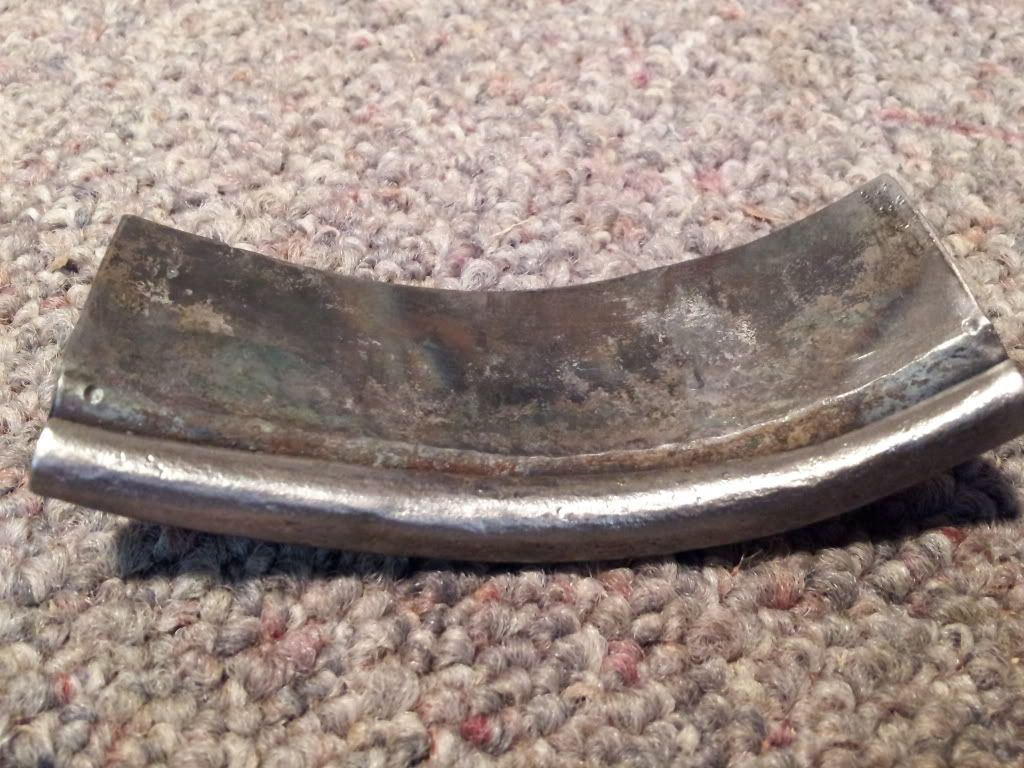
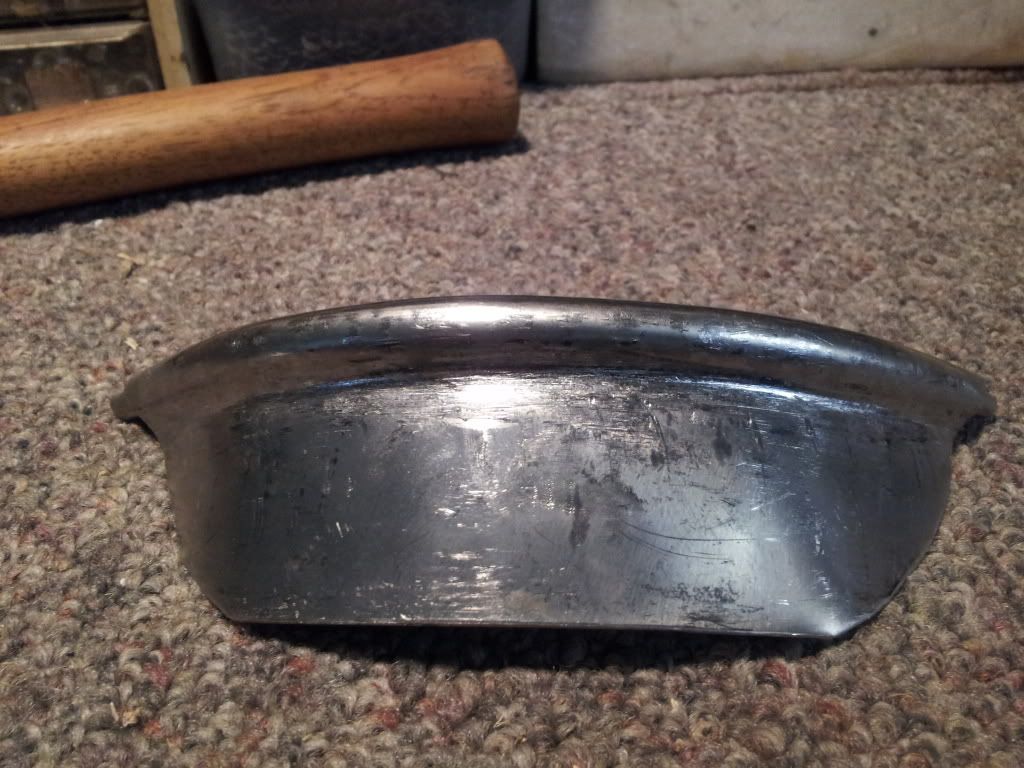
Wade told me of a technique he has used for shaping the backplate on gorgets where you heat two areas of the plate to push them out then curl it into a 3D shape Here are the results.
The color change shows where the heat was applied
http://i128.photobucket.com/albums/p181 ... 212951.jpg
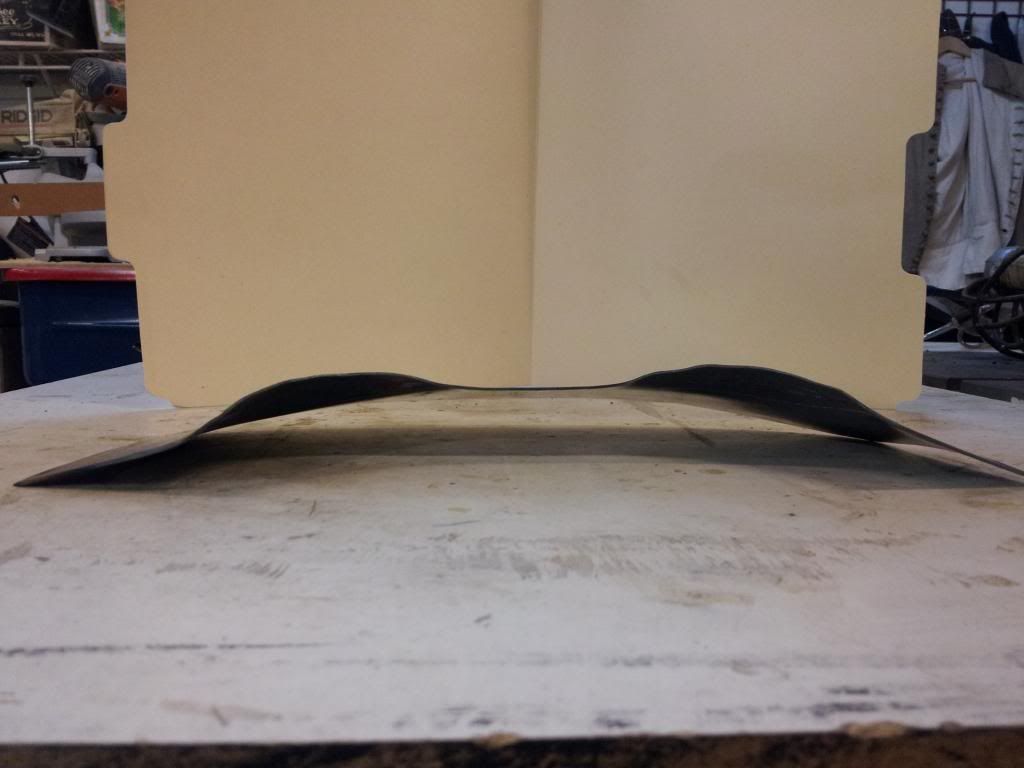
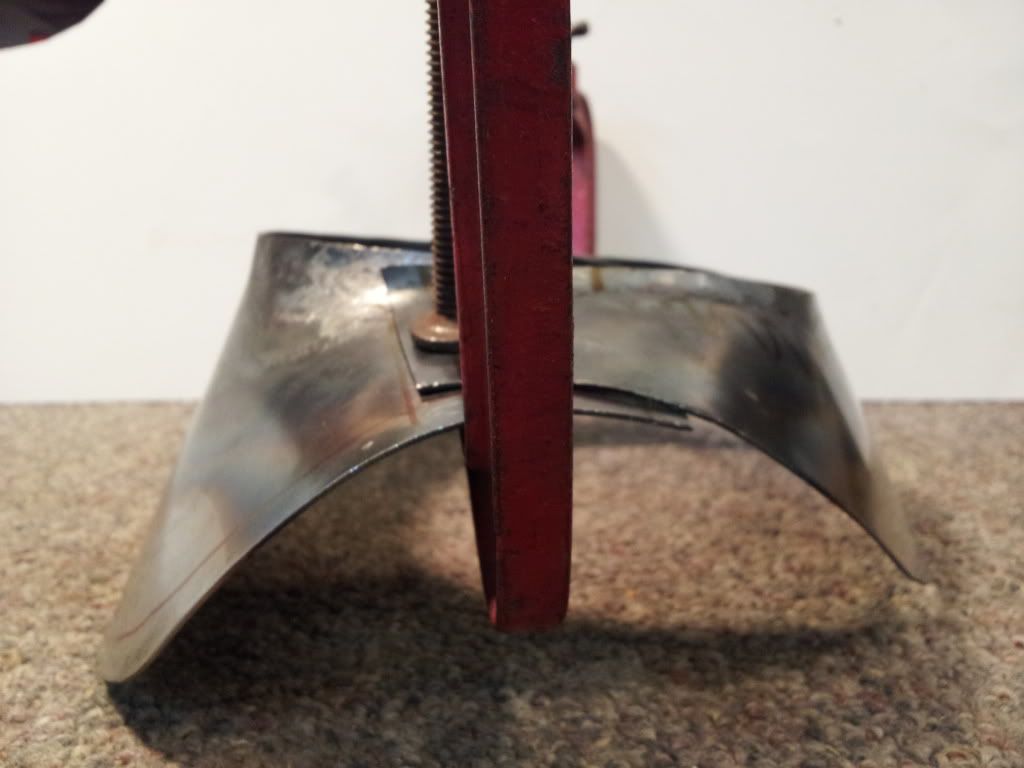
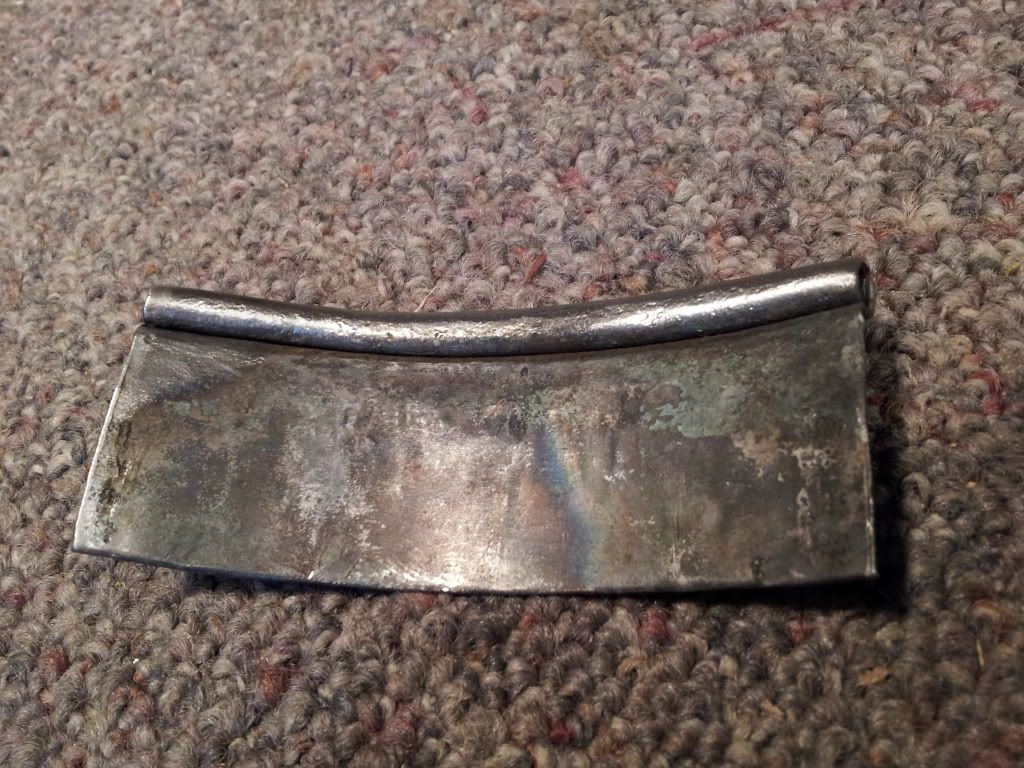
Here is the depth
http://i128.photobucket.com/albums/p181 ... 213055.jpg
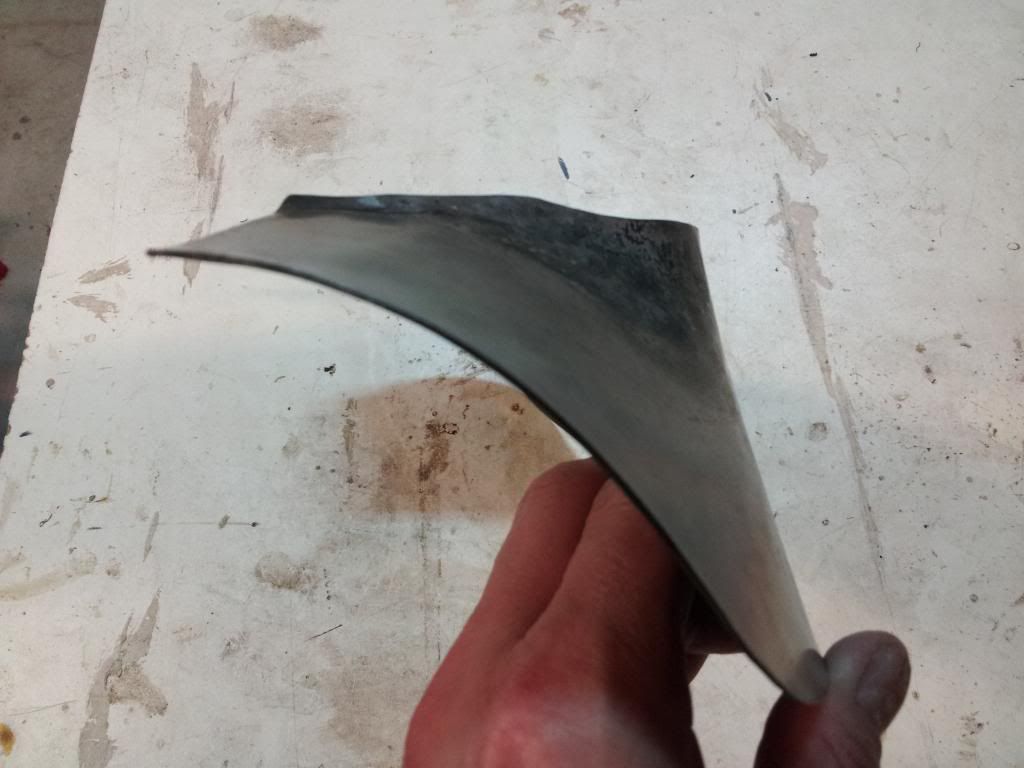
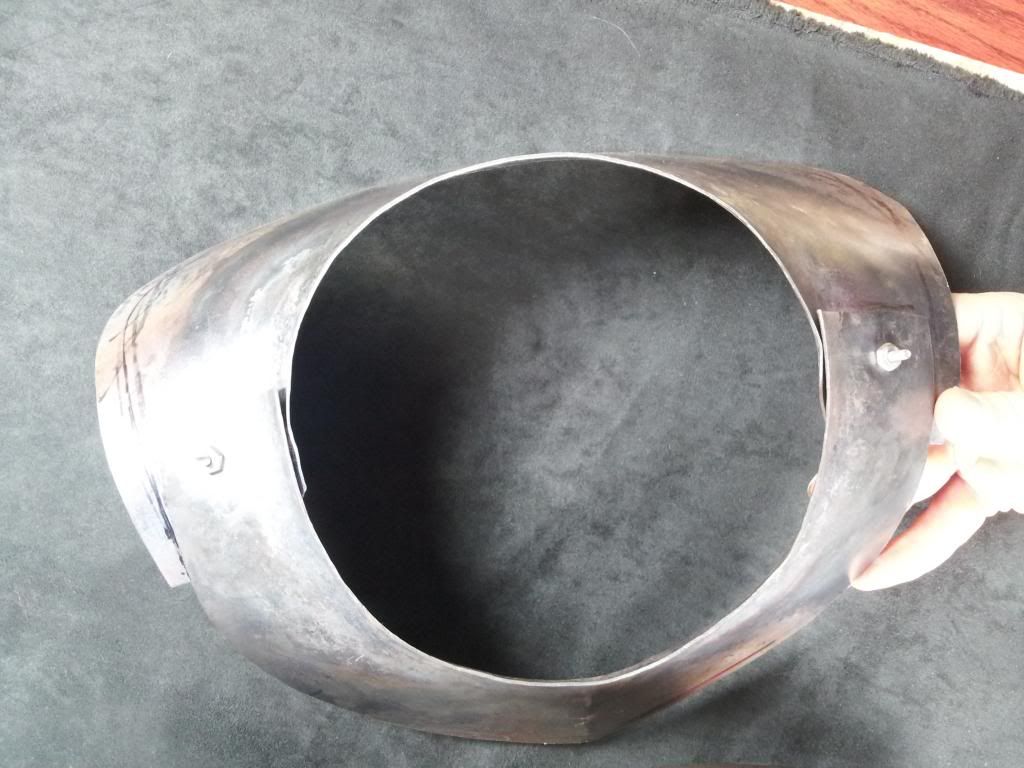
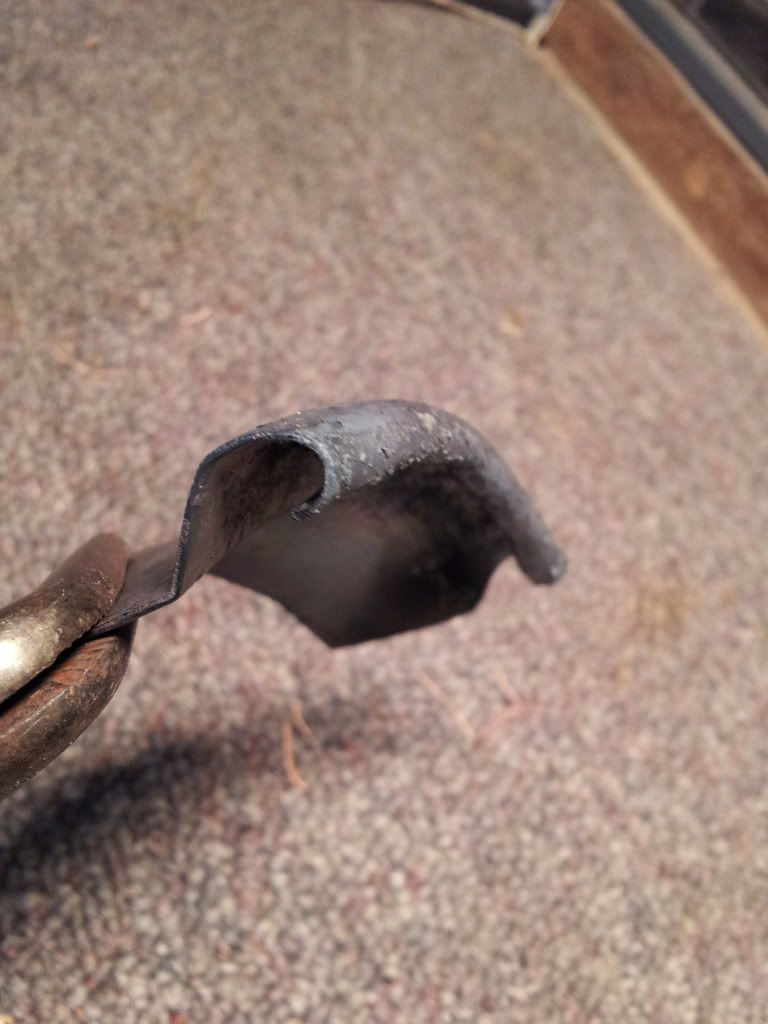
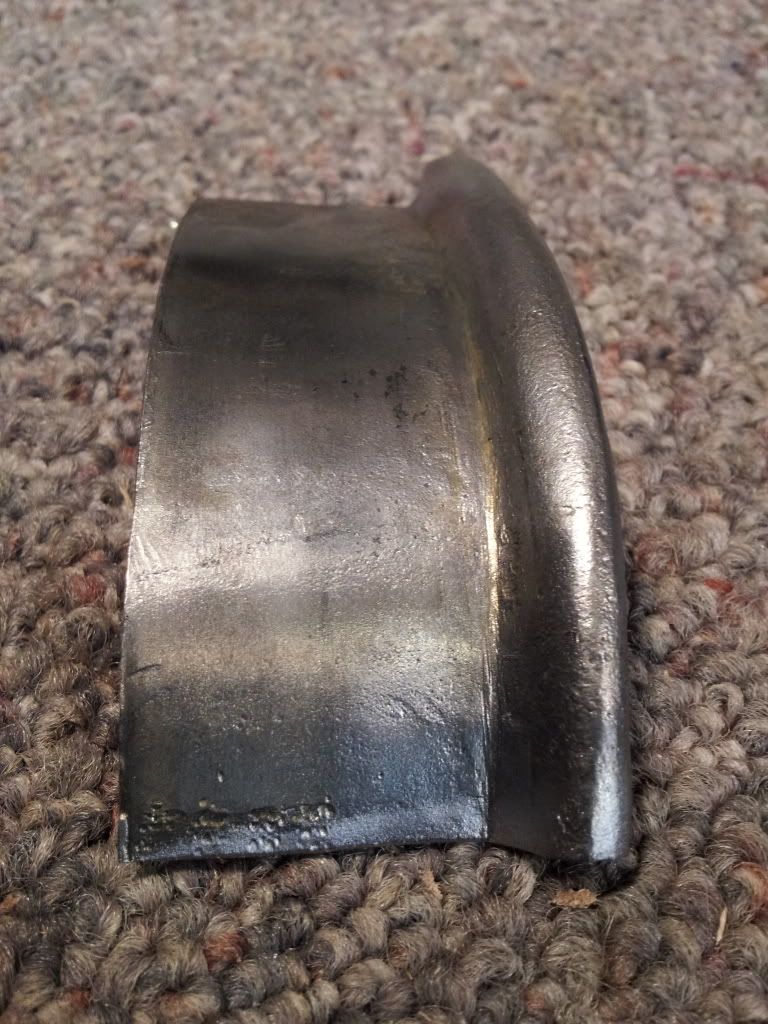
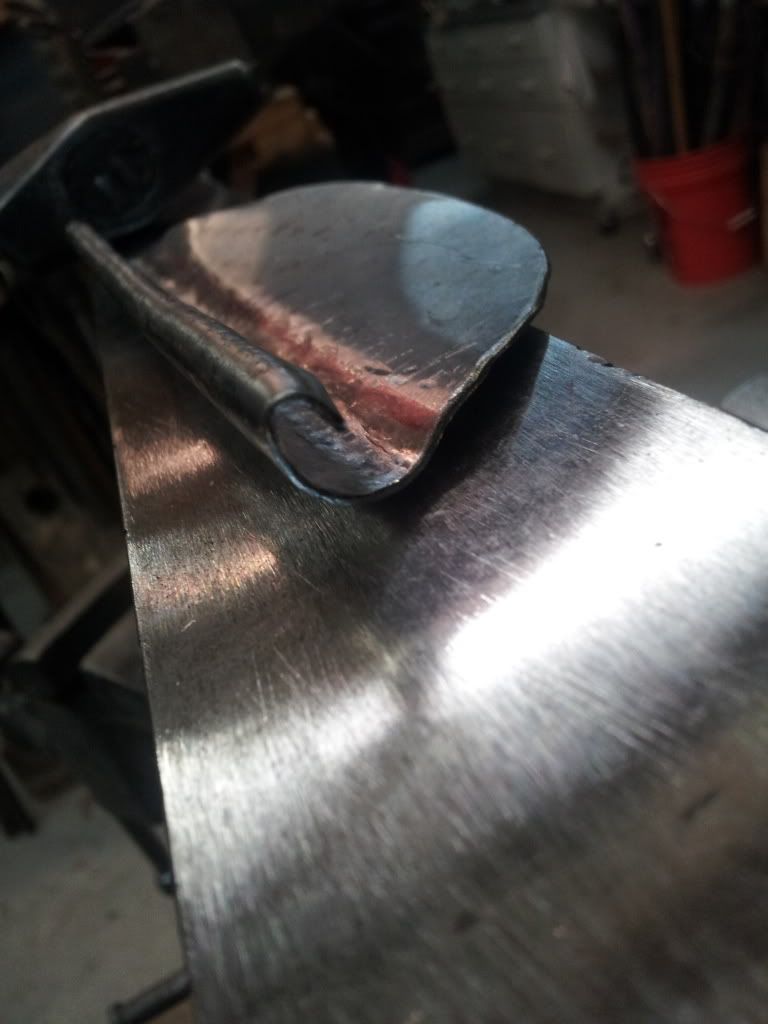
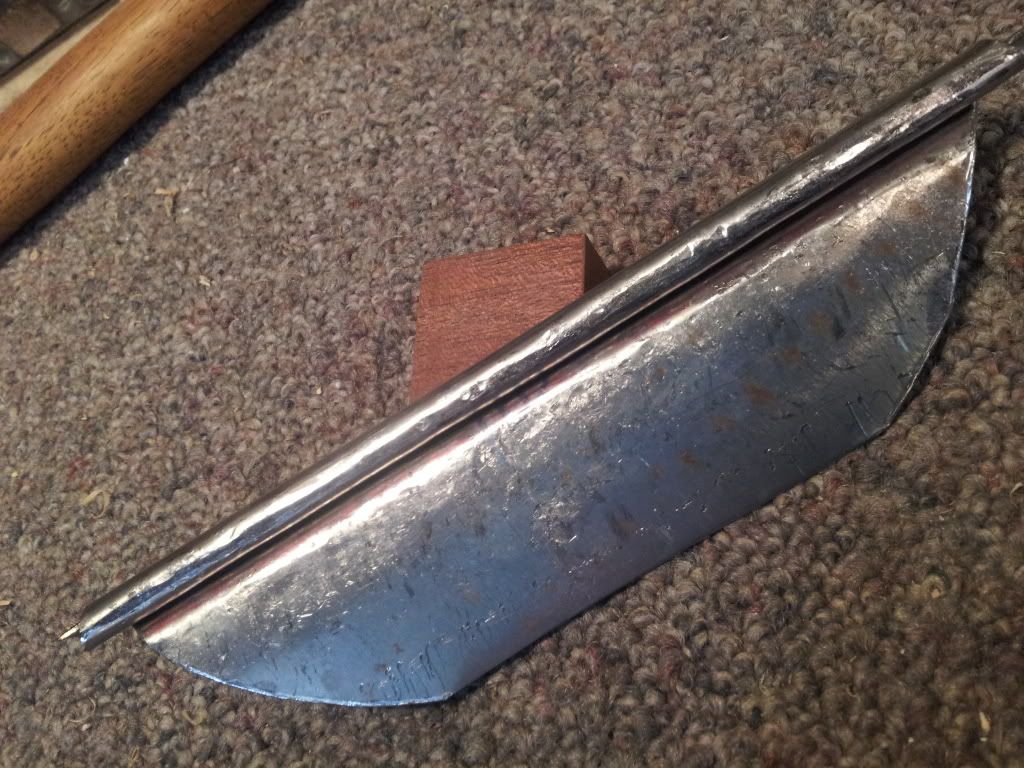
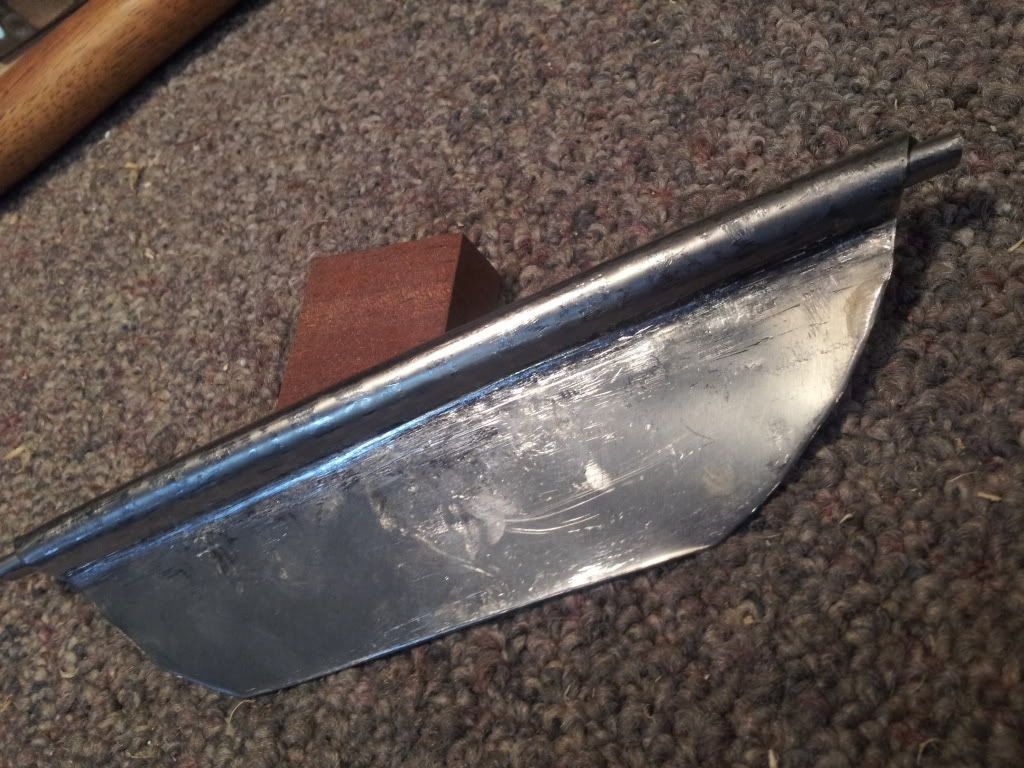
Then the ends that underlap the front plate were curled cold over the horn of the anvil.
http://i128.photobucket.com/albums/p181 ... 210437.jpg
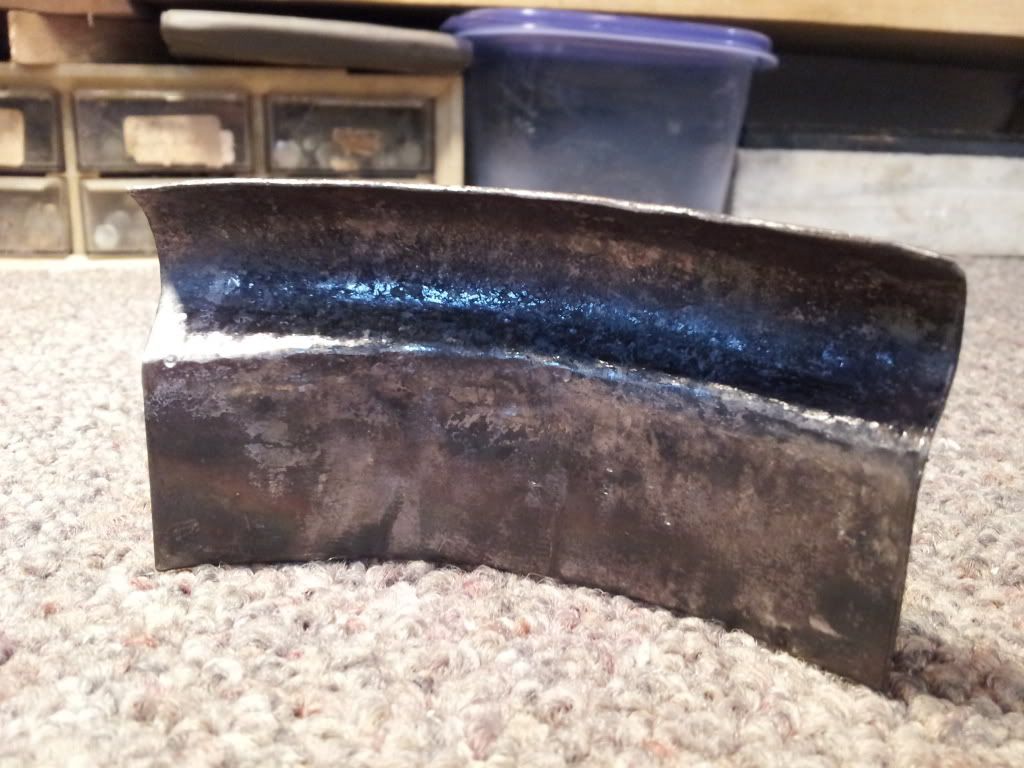
Here is a side view. It is kind of Krinkly at the lame edge. After rough shape you need to go over it to even out the transition.
http://i128.photobucket.com/albums/p181 ... 210543.jpg
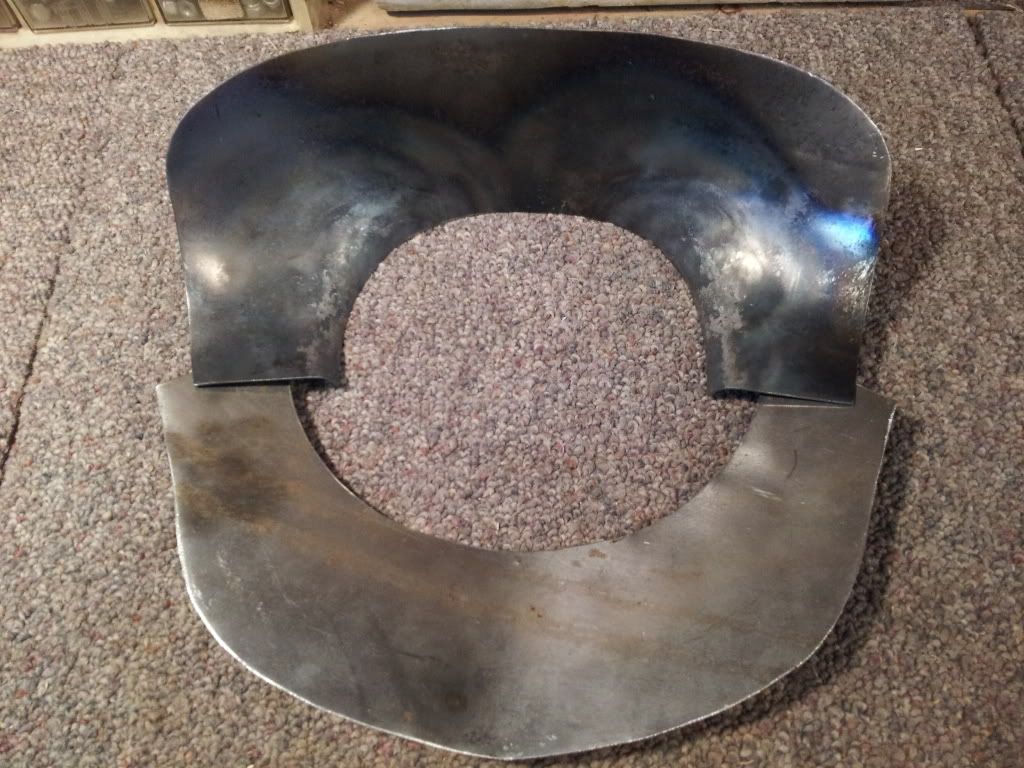
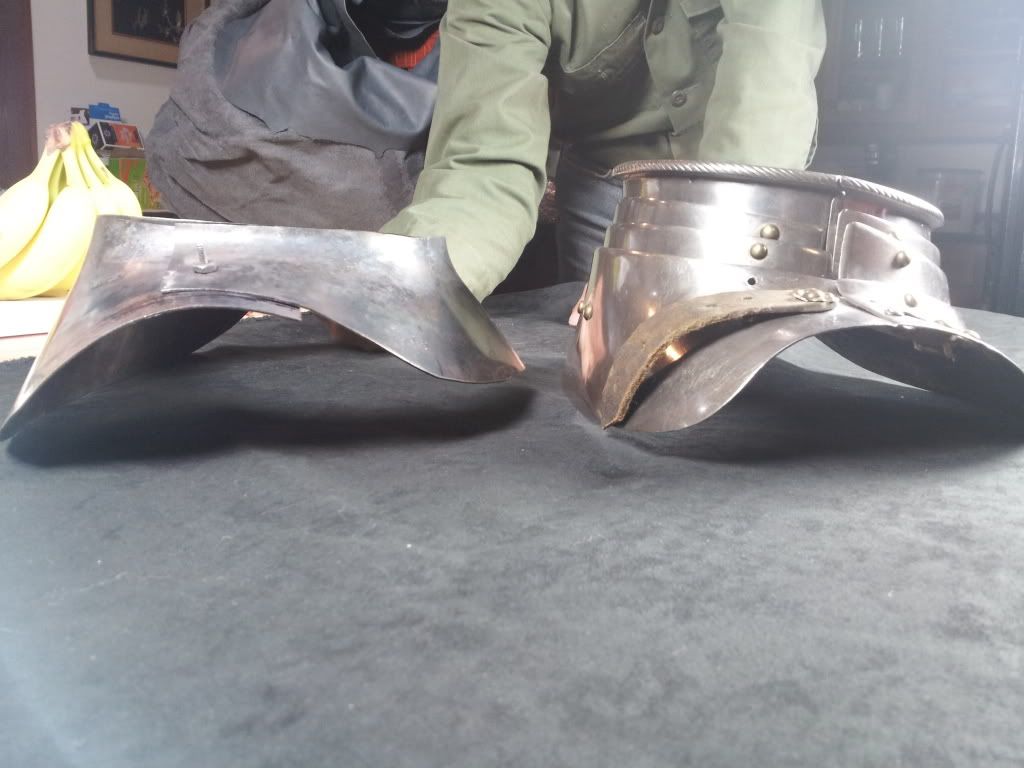
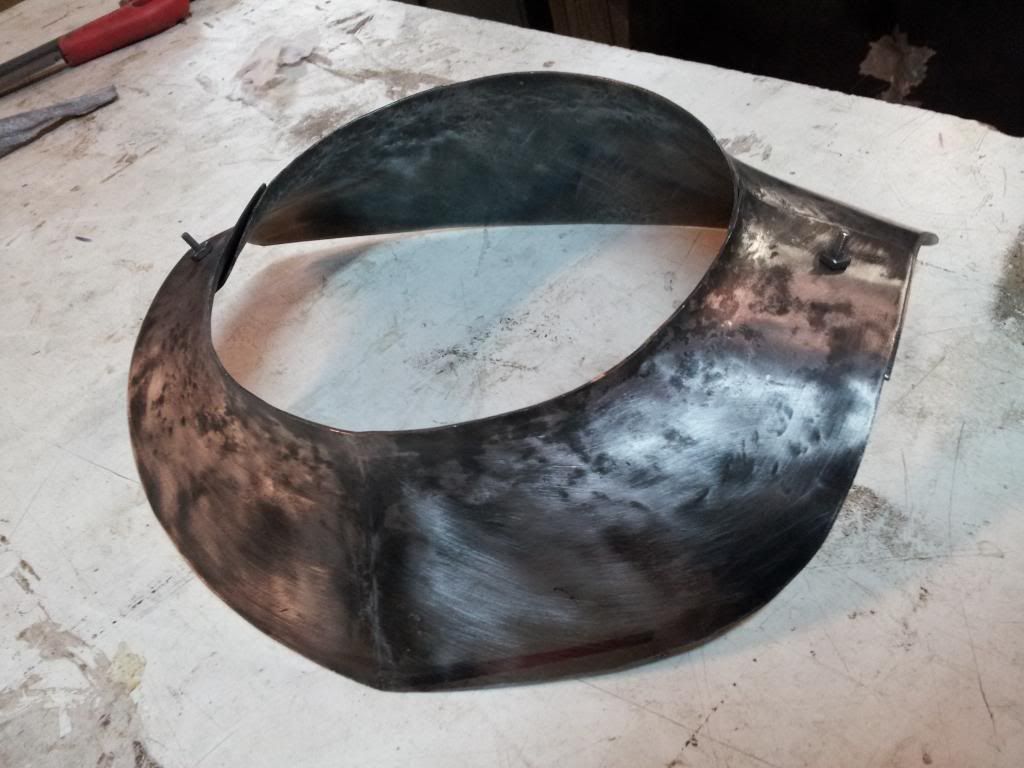
The shaped back up against the 2D front. Closed up a bit in the exercise.
http://i128.photobucket.com/albums/p181 ... 213843.jpg
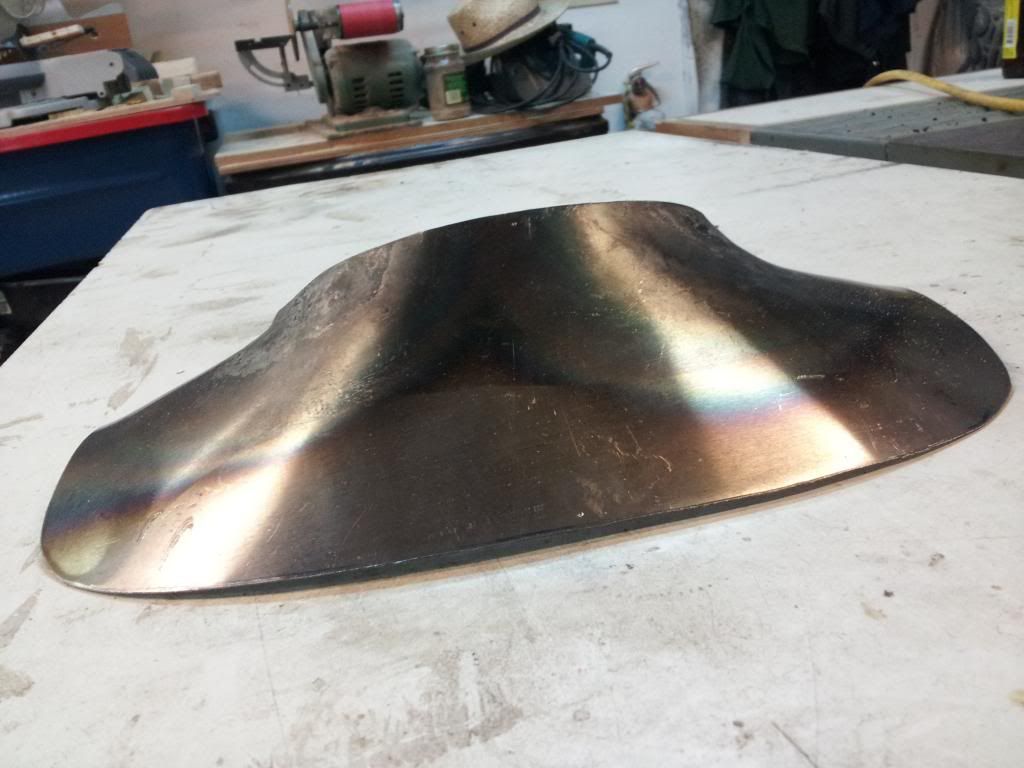
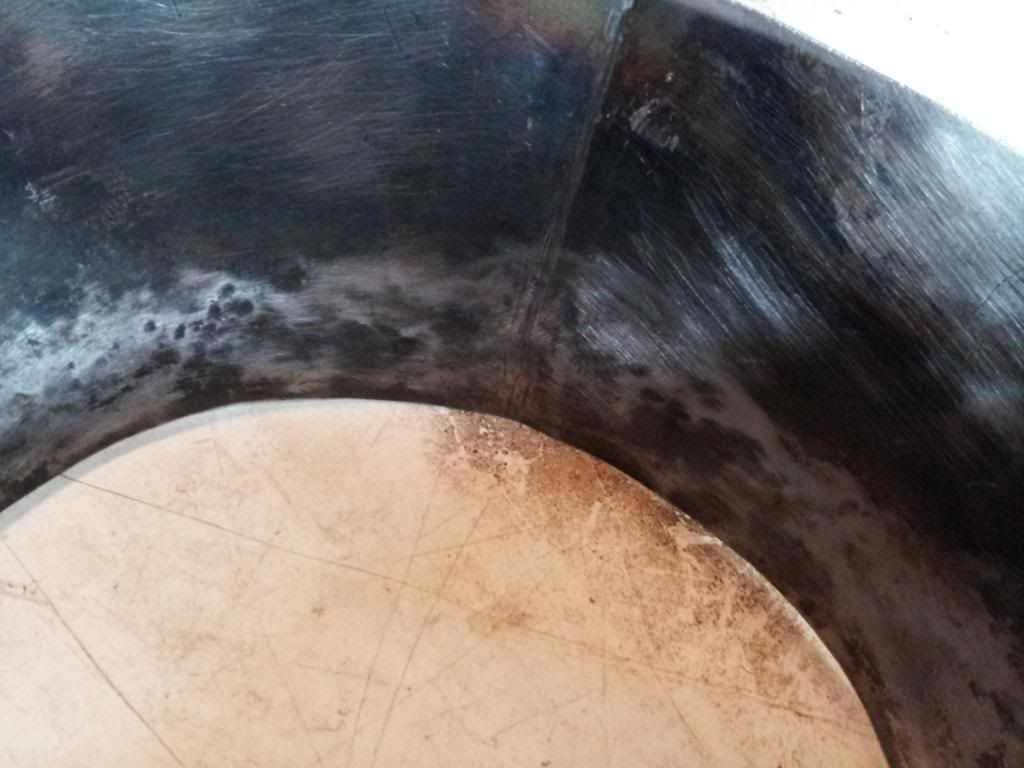
Then the front was shaped with some heat. You can see the witness marks (centerpunch dents) on the workpiece centerline. These were all over the original often where it changes shape. I imaging the master placing these and letting the apprentice going to work. "Hit here, stop here, going past here...right out!"
http://i128.photobucket.com/albums/p181 ... 192630.jpg
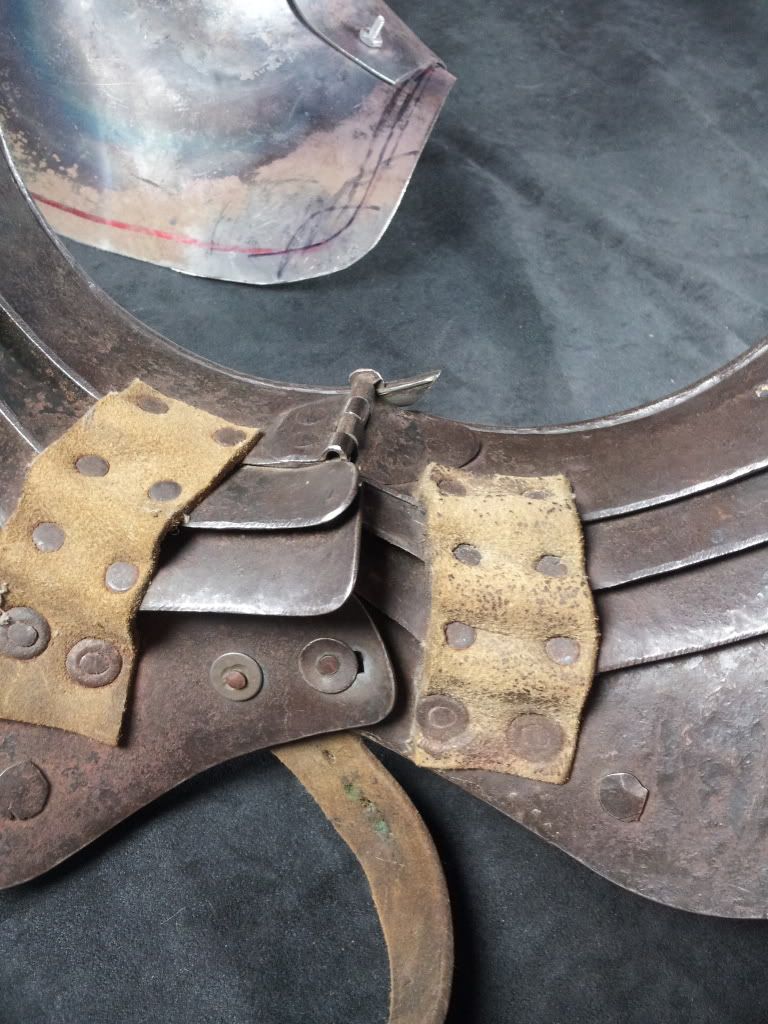
Closing in on it. Sides starting to match up. One of the things Wade told me to look out for was the straight line created by the tops of the front and back plates. That was one of the indicators that I was headed in the right direction. Another goal was to have a very round neck opening. Counter intuitive but it does make sense. While your neck is not round you do rotate it in a circle. So it needs to accomodate the widest part all the way around. This gorget was also thought to possibly locked together with a helmet. The roll end of the top lame would would also have to be round to do this. Kind of like turning cuff rerebraces. More on this later.
http://i128.photobucket.com/albums/p181 ... 192616.jpg
http://i128.photobucket.com/albums/p181 ... 192518.jpg
The next step was to go over to Wades and get his advise on the shaping and where to go from here. See next post.
