A big thanks to Mac and Wade for shareing the info on this way to construct a helm.
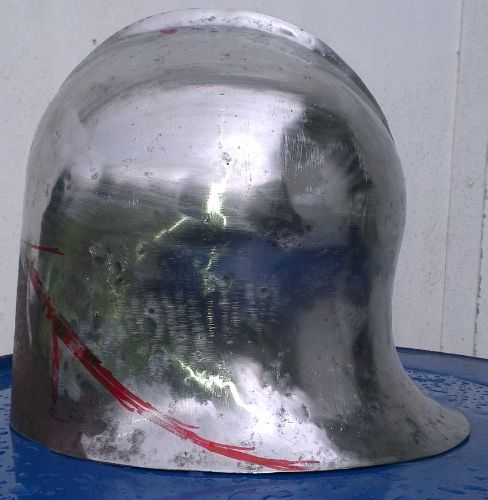
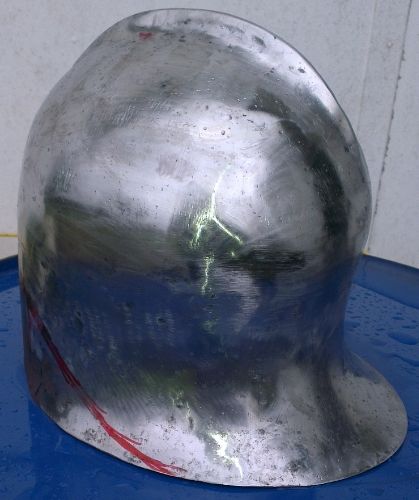
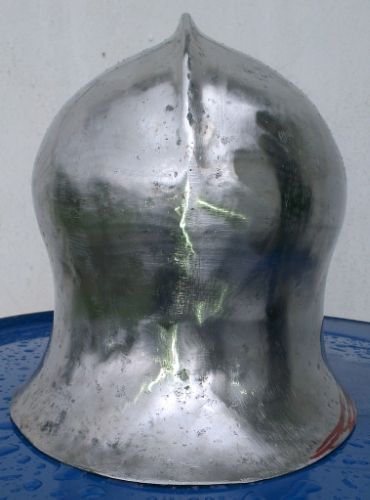
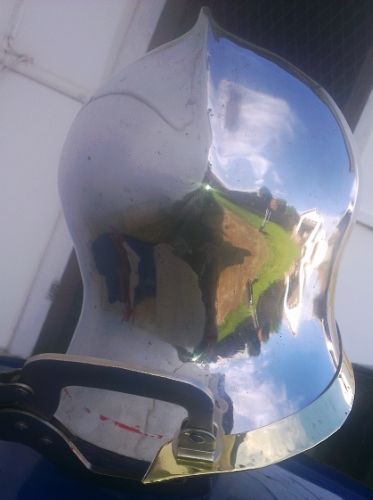
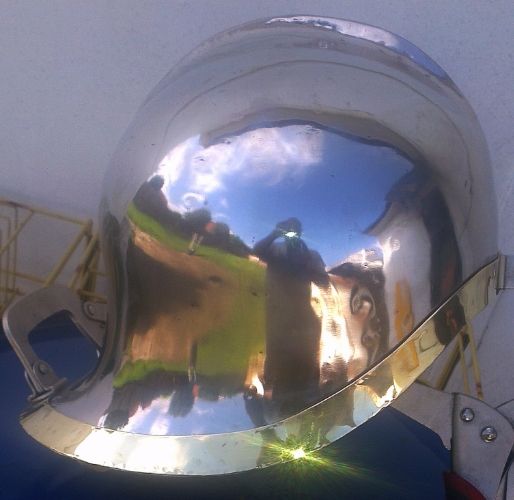
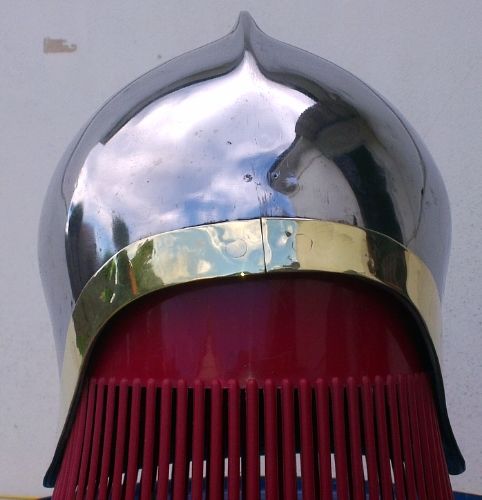
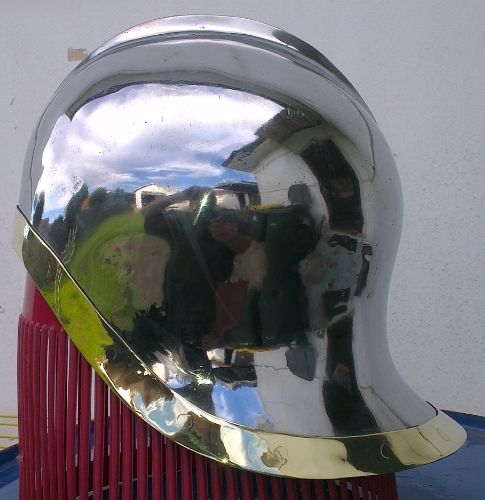
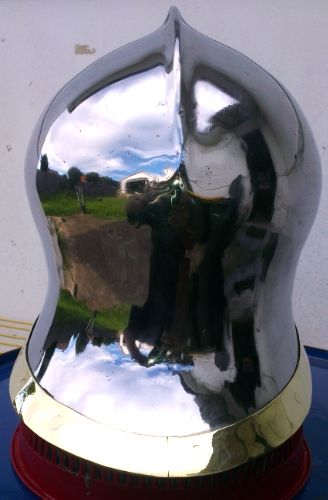
I went out and tried it, the first one working ok, but I learned so much that I would do differenty that I started a second, here are some progess pic's
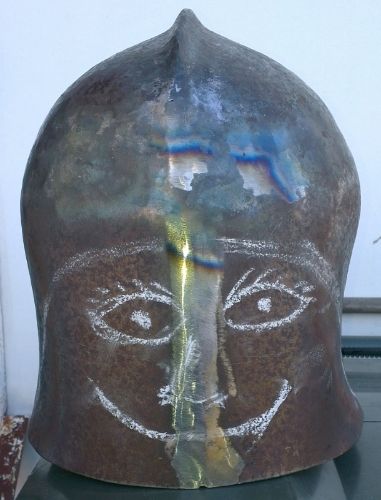
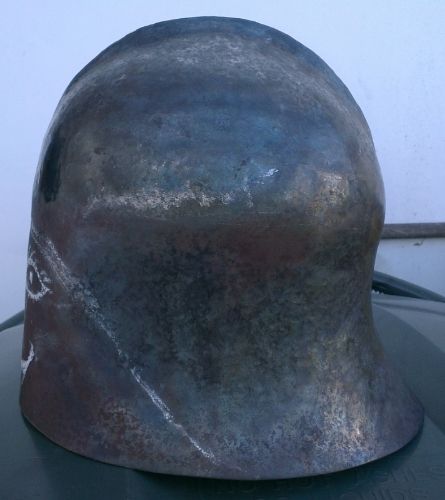
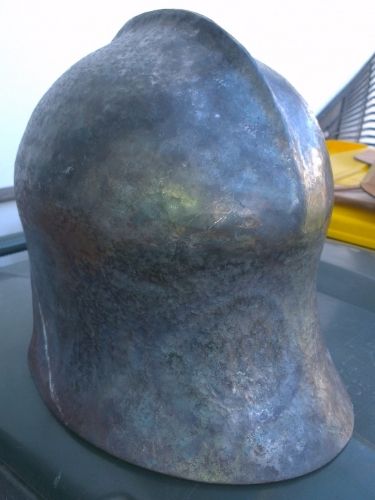
This take me about 6 hours of shaping after I made the shell. Im looking forward to going back out on the weekend to see how much more i can get done.
and thanks to JT for helping me to work out how to post pidc's
Mark