stallari wrote: Thanks Mac and all for these illuminating--literally--facts that those of us unable to see, photograph or touch the originals have never been able to access before!
Stallari,
The plain fact is that most of what I know, I know from pictures. For every hour I have had the privilege to handle real armor, I have spent another hundred looking at pictures.
The trick is in how to look. Spend time looking deeply. Let the lines burn into your brain. Ask yourself questions about what you are looking at. Look at the way the light reflects off the armor and imagine where the light sources are. Ask your self what that tells you about the shape. Try to imagine what it looks like from a slightly different angle. Look at the "horizons" of the armor and let them soak in. Try putting those shapes into words. Where is the widest place? The narrowest? Where is is concave? Where is is convex? If if goes from concave to convex, where is the inflexion point? Look at the rivets, and ask yourself what each one is there for.
There is a tremendous amount of information in a picture, but getting at it is not a purely passive process. You have to work at it, but the more you work at it the easier it becomes.
It is. Your actual millage may vary, but I guarantee that anyone will become a better armorer if they spend time looking at pictures in a way that engages the entire brain.
Mac
Robert MacPherson
The craftsmen of old had their secrets, and those secrets died with them. We are not the better for that, and neither are they.
Tom B. wrote:
This is a tremendous quote and it must be shared
Thank you, Tom.
I have a special soapbox that I sit on when I type manifesti. It puts me high above the keyboard and gives me a feeling of authority. If the damned thing had more padding I would write longer ones....
Mac
Robert MacPherson
The craftsmen of old had their secrets, and those secrets died with them. We are not the better for that, and neither are they.
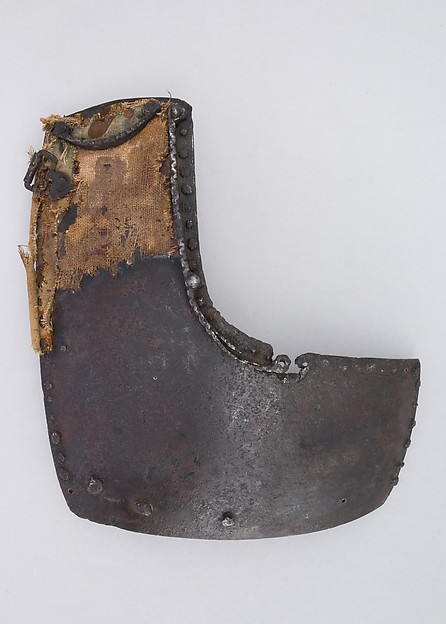
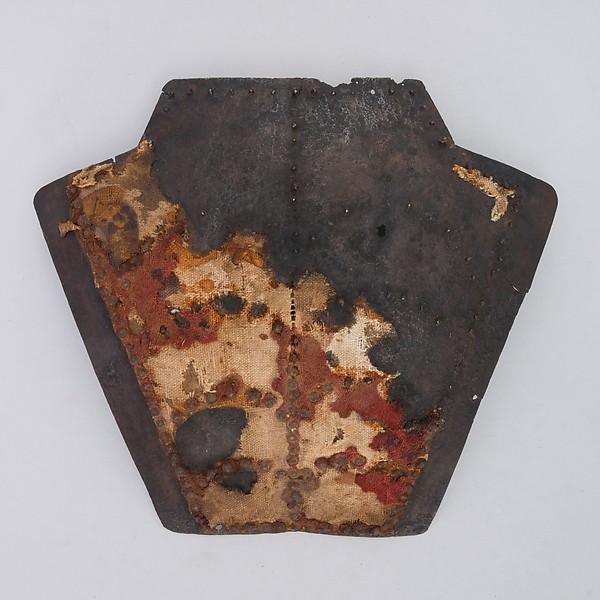
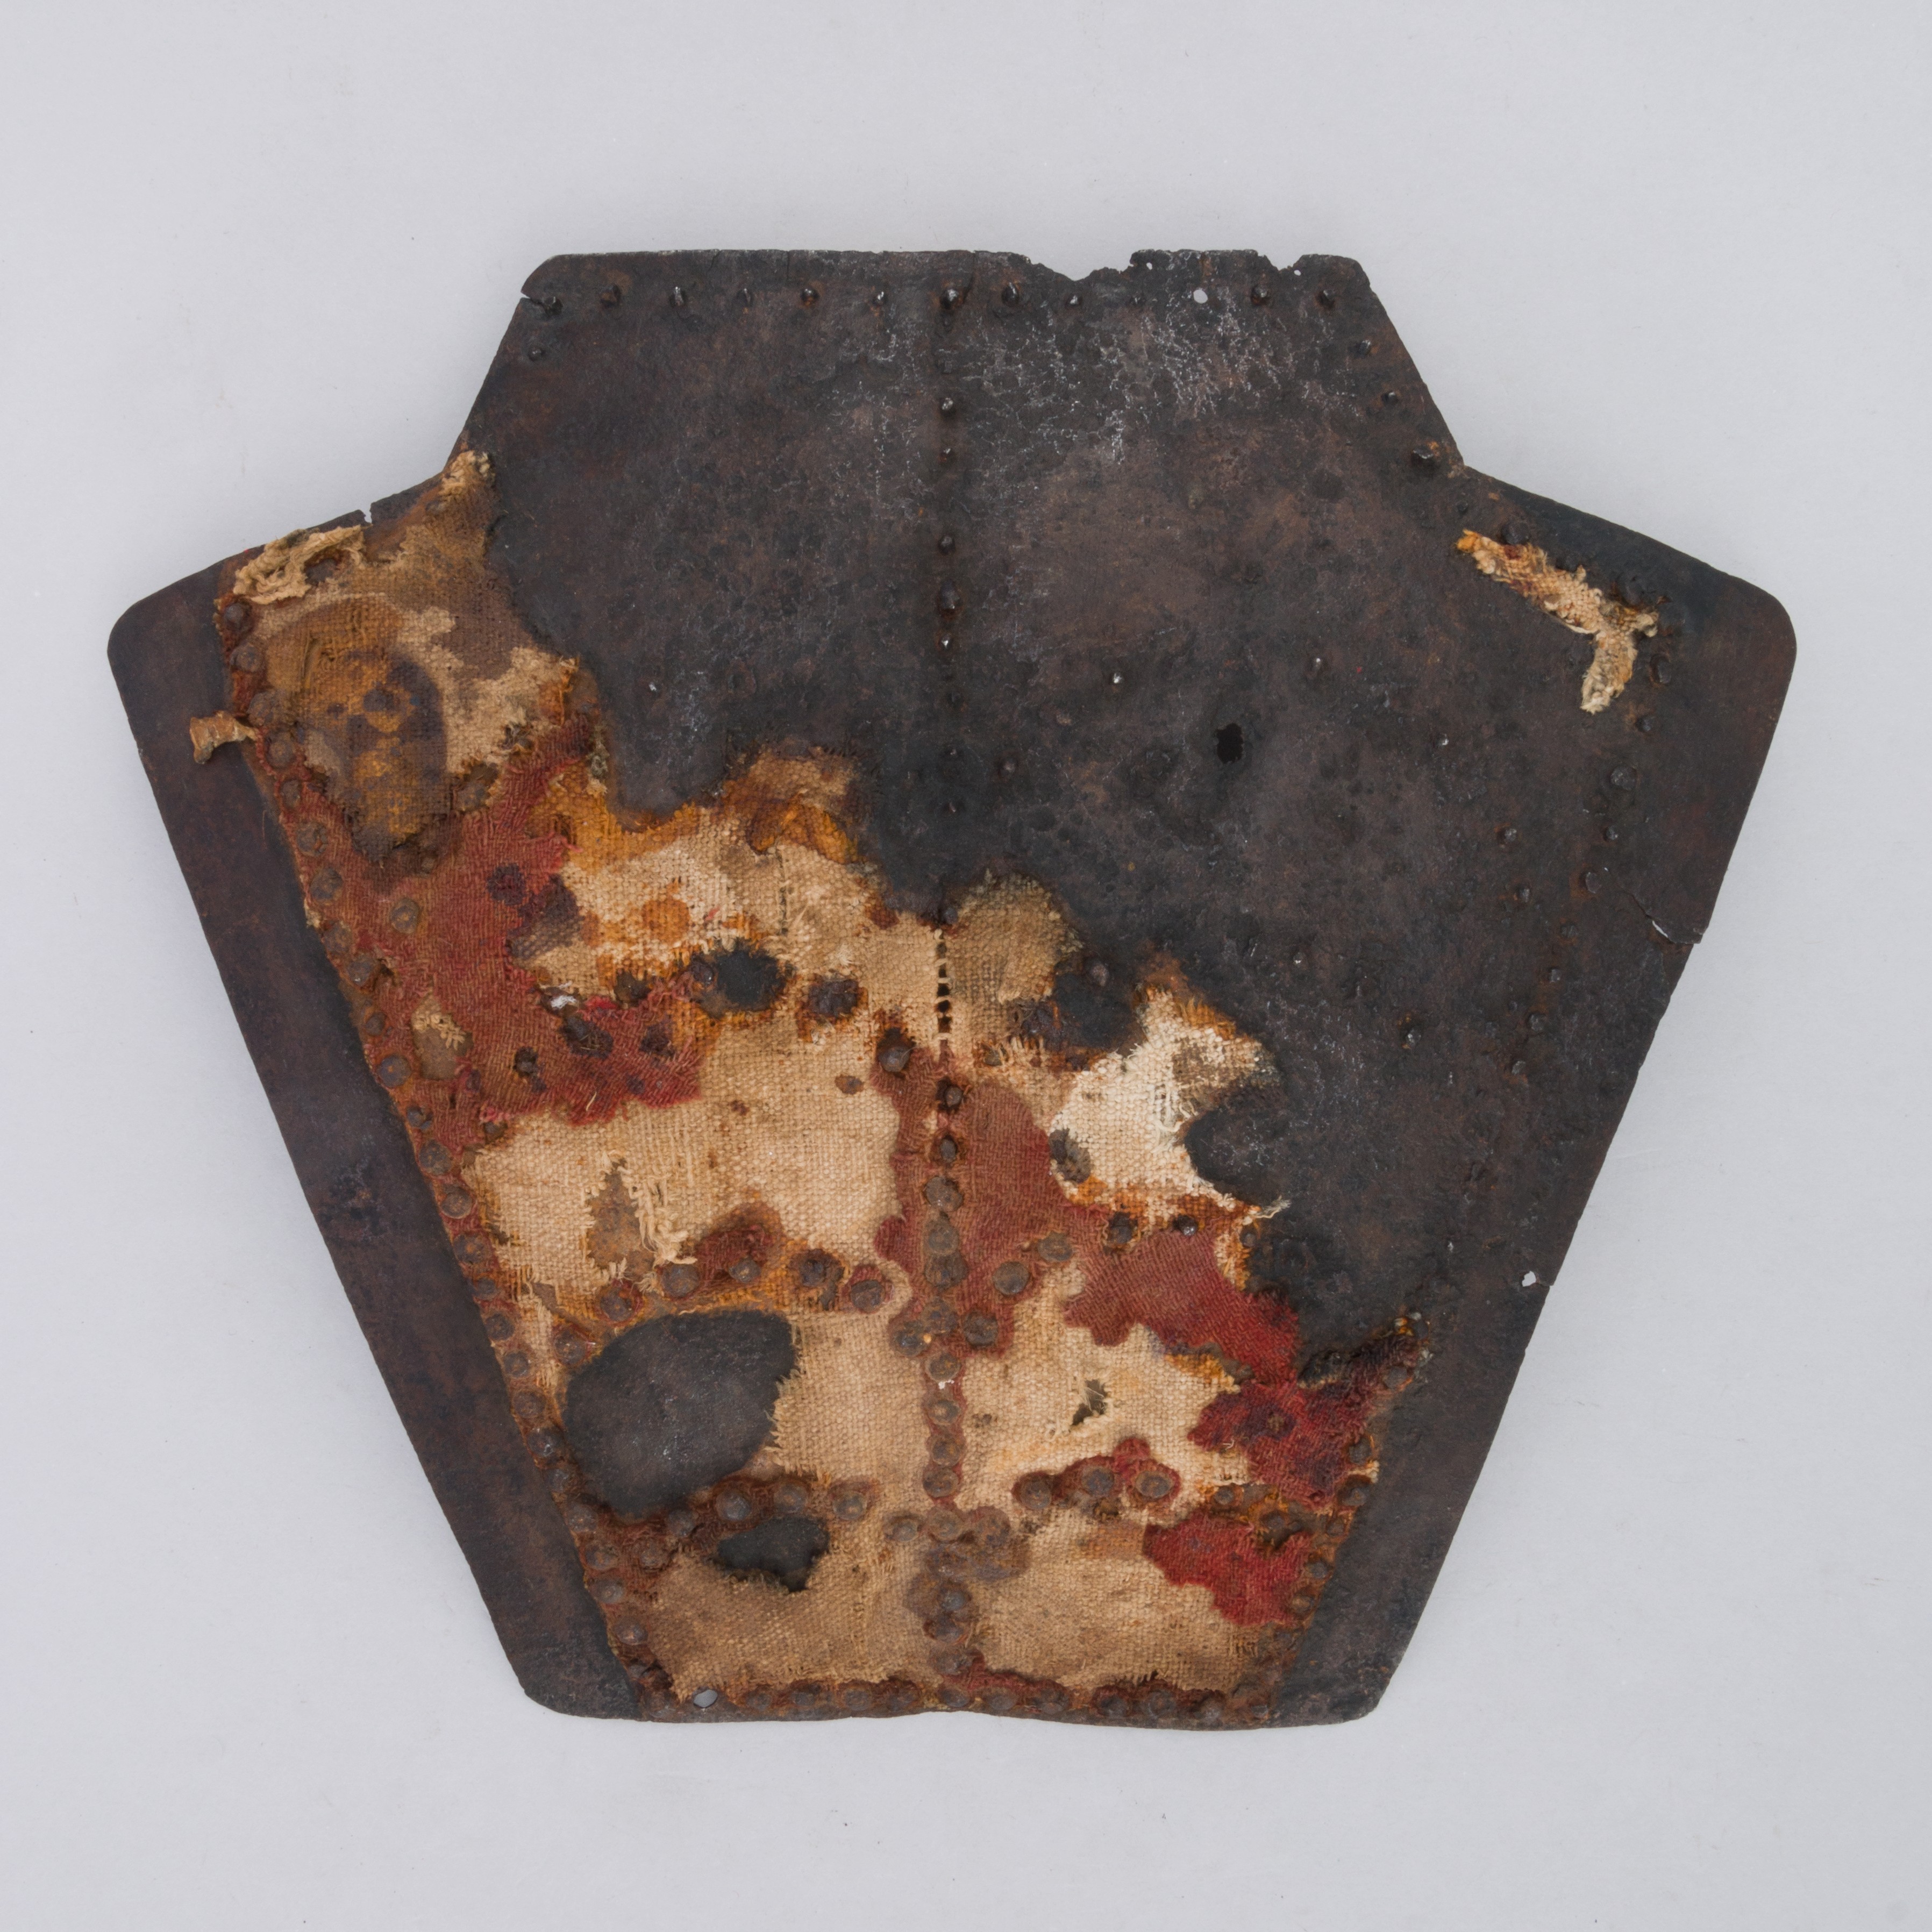
You can zoom in at this link. The stop rib for the neck is definitely applied on over the original cloth.
This is a fantastic discussion and I am learning a ton just by lurking. I do have a question about this piece; it is clear that the fabric is under the stop rib at the neck, but what about the rib for the arm pit? My amateur guess is that it probably did and the fabric would have been under the rivet line and all the way to the edge, but even zooming in I can't see any evidence of that. Obviously it could just be that there is no surviving cloth on the very edge, but what it sure seems to stop abruptly at the rib.
dominic wrote:
This is a fantastic discussion and I am learning a ton just by lurking. I do have a question about this piece; it is clear that the fabric is under the stop rib at the neck, but what about the rib for the arm pit? My amateur guess is that it probably did and the fabric would have been under the rivet line and all the way to the edge, but even zooming in I can't see any evidence of that. Obviously it could just be that there is no surviving cloth on the very edge, but what it sure seems to stop abruptly at the rib.
Thoughts?
As Mac and I were discussing earlier, when you look at the back side photo it is obvious that this piece has been re-riveted. Note the two shiny rivets compared to the other rusty ones. the stop rib would originally been on top of the fabric.
Click on the image to get to a zoomable version
Last edited by Tom B. on Fri Nov 07, 2014 10:38 am, edited 1 time in total.
Well, it's possible that it originally was under the stop rib at the arm opening. It was discussed earlier that the rivets have been replaced on that stop rib. Perhaps during the initial removal, they had to cut the fabric there to avoid further damage to the cloth. It is certainly a very clean line... Also, notice that the line of rivets intended to hold down the cloth cover is outside the stop rib, a clear indication that the fabric originally covered the edge.
"There is a tremendous amount of information in a picture, but getting at it is not a purely passive process. You have to work at it, but the more you work at it the easier it becomes." - Mac
Interesting observation/idea; maybe the covering was cut during the repair process. Obviously it has been re-riveted, and that could account for the very clean "cut" edge of the fabric to the inside of the armpit stop rib. Like I said; I would assume the fabric extended under all of the ribs to the very edges and under the rivets, but the fact that there was remaining fabric around the neck and none around the arm gave me pause.
One small suggestion on faulds and similar items. It took me a long time to figure this out myself. And if I'm still doing them wrong, please Mac or Wade correct me.
It appears that your fauld pieces are purely rectangular, which you just make slightly longer around the curve as each piece goes down. A lot of people do them like this. Next time (or just try it with some patterning poster board), make each piece the same width and length as you did originally, but make the pattern a slight arc. Think the mouth of a smiley face, but not that extreme. Then when you cut the metal out and then curve it in the forming stage, the bottom of each fault lame will "kick out" slightly making for a more natural looking progression from top to bottom and they will compress and collapse properly without leaving gaps.
Just a suggestion.
Vermillion On the Archive
Christian Von Beckner In the Society
---------------------------
"Pro Deus et mi Patris"


