I'd like to share an actual metal project I've begun working on.
When we were moving out of our old house, we were frantically trying to get everything packed up and out before the new buyers moved in. The final weekend, we were actually overlapping. In that rush, my very first sword got broken.
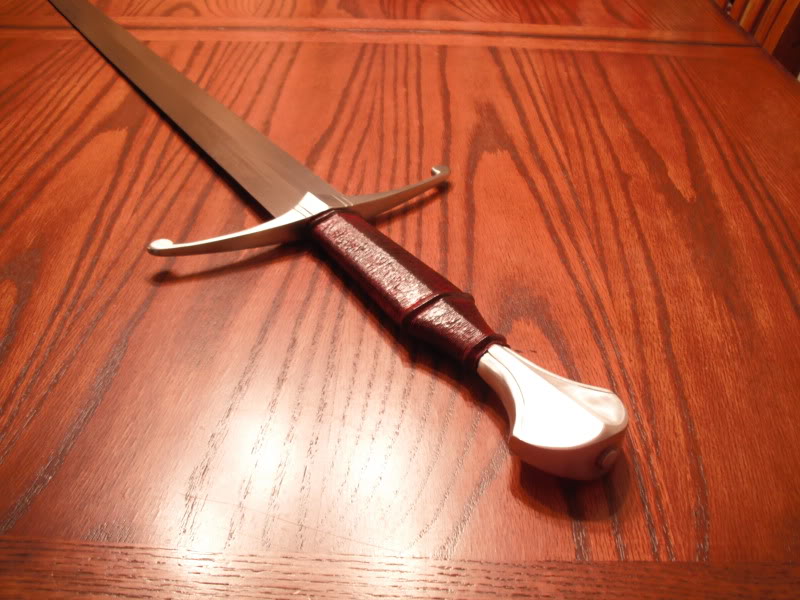
Here's what it used to be: Actually found it on Amazon
It wasn't a great piece. It was very much a wall hanger. But it was my first sword...my brothers gave it to me for my birthday when I was 14, so it certainly held a great deal of sentimental value for me.
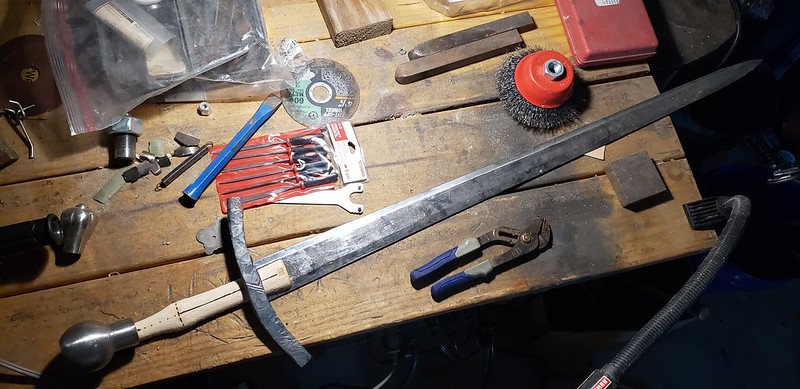
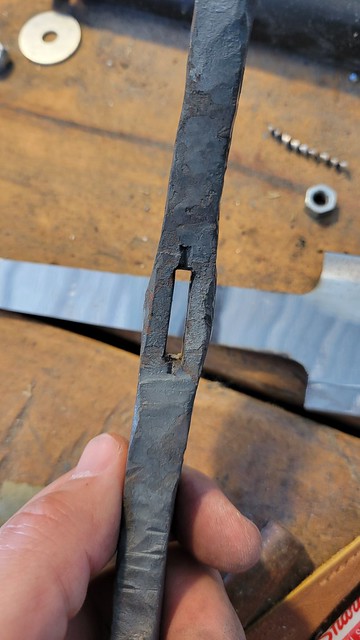
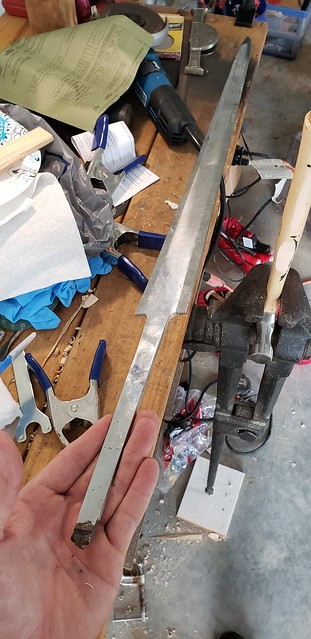
Rather than throw it away entirely, I wanted to try and repurpose what I could. The entire handle had only a tiny, rat-tail tang that had been haphazardly tack-welded onto the blade...this is what had broken in the move, destroying the handle. However, the blade itself is surprisingly good; it takes an edge well, and can deflect a full 45 degrees and come back to true.
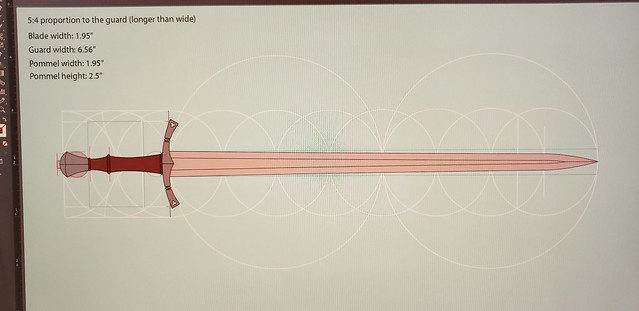
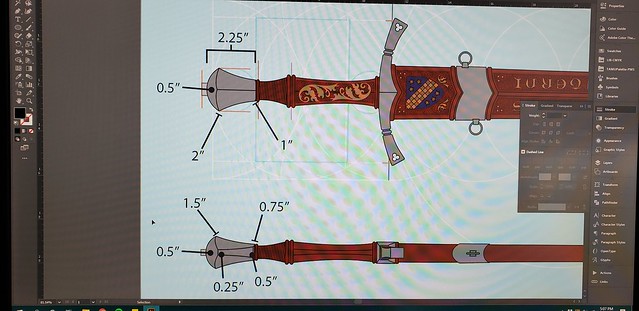
So, after studying a bit, and taking some careful measurements, and watching Peter Johnsson's videos on sword geometry, I applied the same principles to the remaining blade. To my delight, the proportions would work perfectly for a hand-and-a-half in an XVIa style.
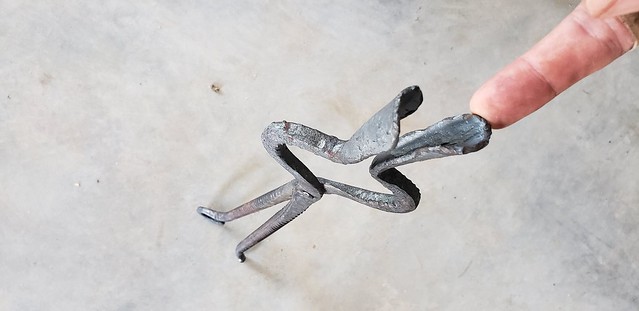
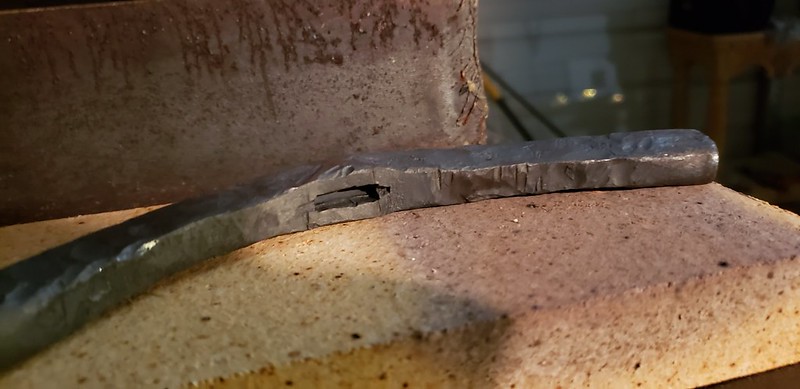
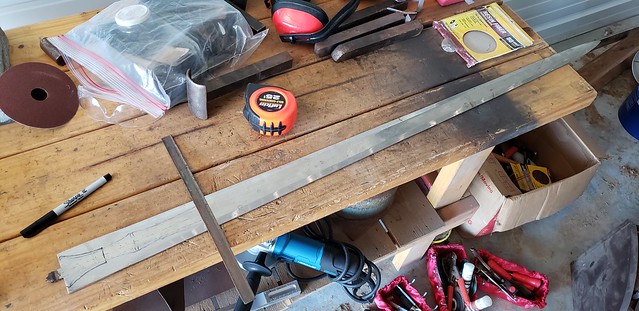
And so, I gave it a new tang.
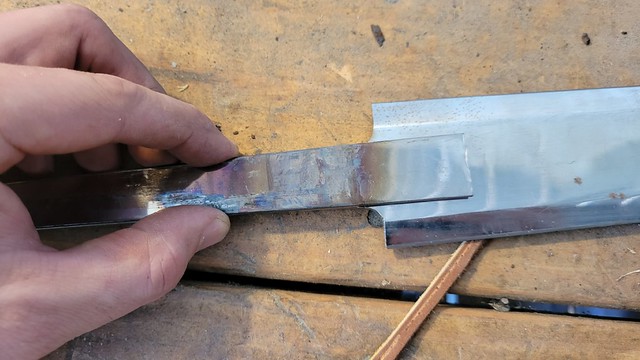
From there, I began to work on the scales for the grip, first carving it out of a solid piece of hickory, then carefully splitting it through the center.

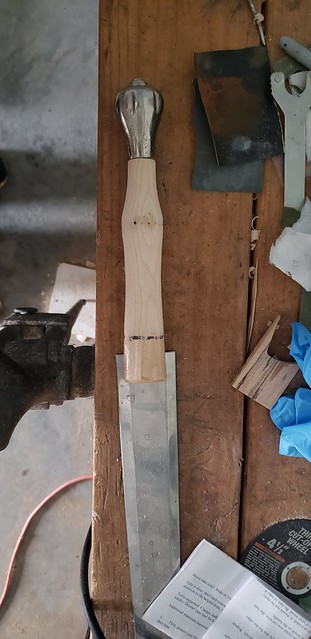
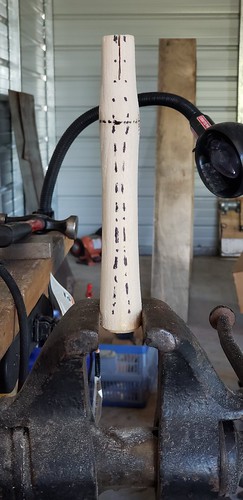
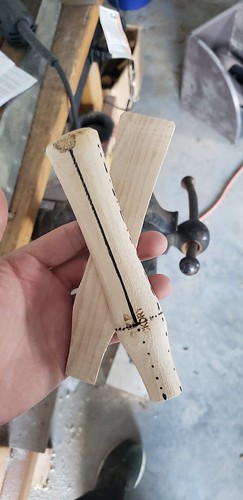
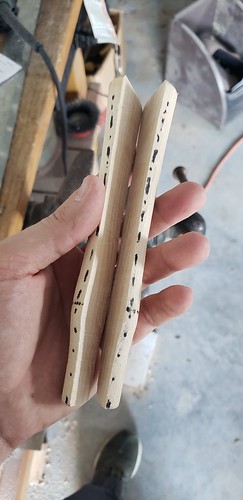
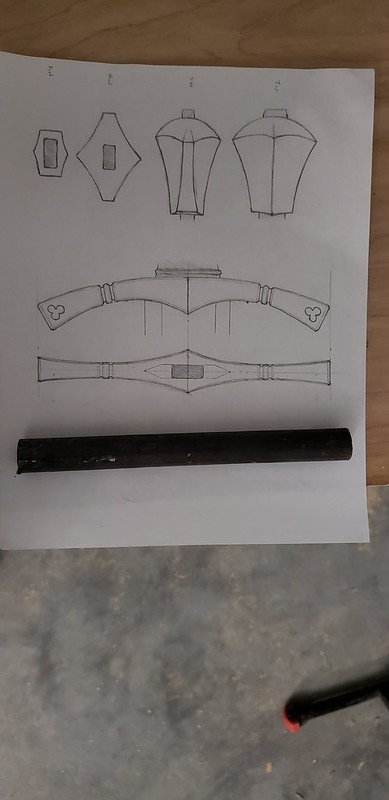
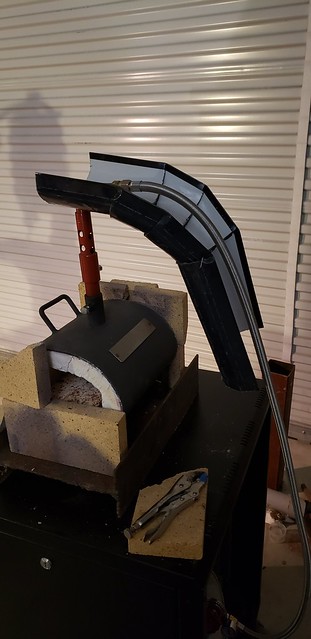
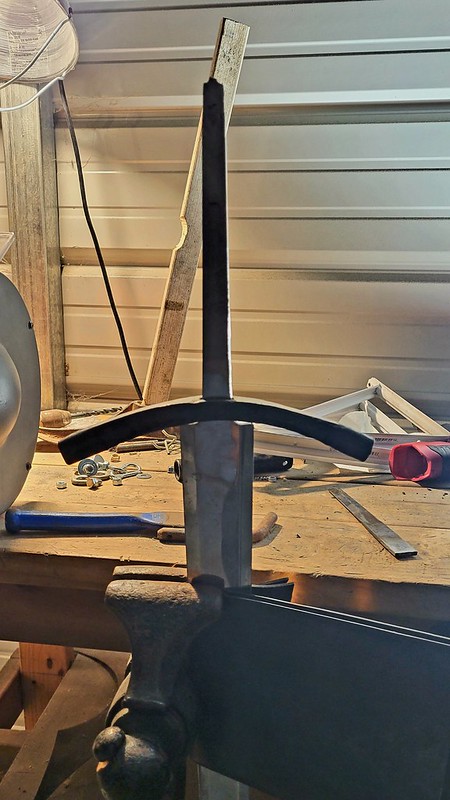
The handle is left long, until I've finished forging out the crossguard (good first project for that new forge, eh?).
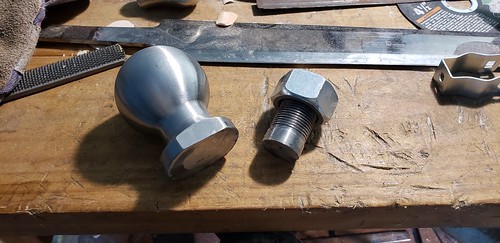
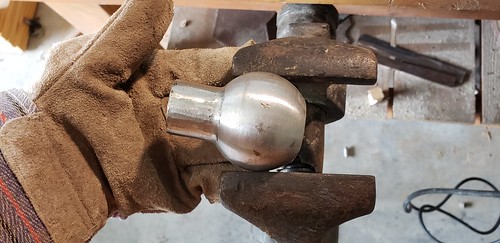
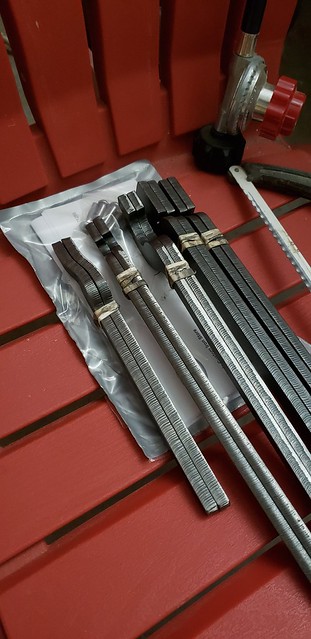
From there, I turned my attention to getting the raw material for my pommel prepped.

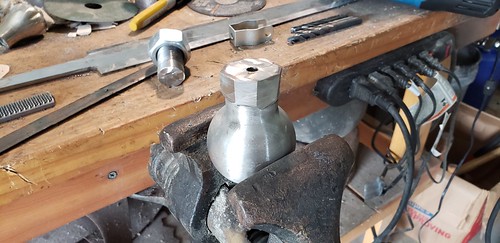
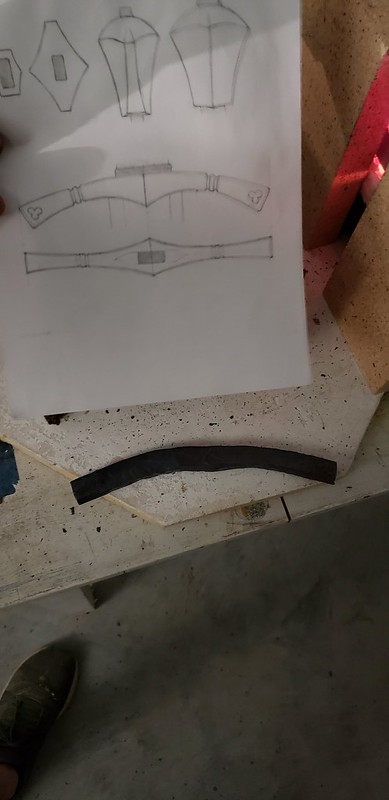
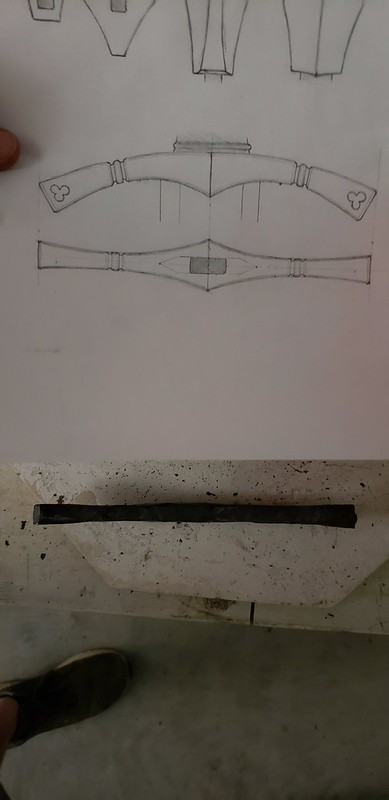
Actual smiths will probably run me out of town on a rail for this, but here's my starting material: a raw steel, solid shank ball hitch. After chopping off the unnecessary length, I started hogging off excess material, and drilled a starting hole for the tang. From here, I'll get to utilize my forge again, flattening the hole to a more ovoid shape, then drifting it to a final rectangular hole.